Pressed sugar cookies have been one of my most popular cookies. I love to bake them and share with friends during the holidays and at parties. The recipe is fairly easy, and they turn out so beautiful. But this time around, I wanted to take my traditional recipe and see what I could do to make them plant-based.

I recently started a low cholesterol diet, and I have given myself the challenge to take my most-loved baking recipes and turn them into plant based versions. My number one rule is: it has to be as tasty and crave-worthy as the original, otherwise why change it? I’ll just keep it as a ‘once in a while’ treat. With that goal in mind, I have been surprised and delighted with what I have been able to make without much changing of the recipe other than swapping in new ingredients.

Using plant based ingredients
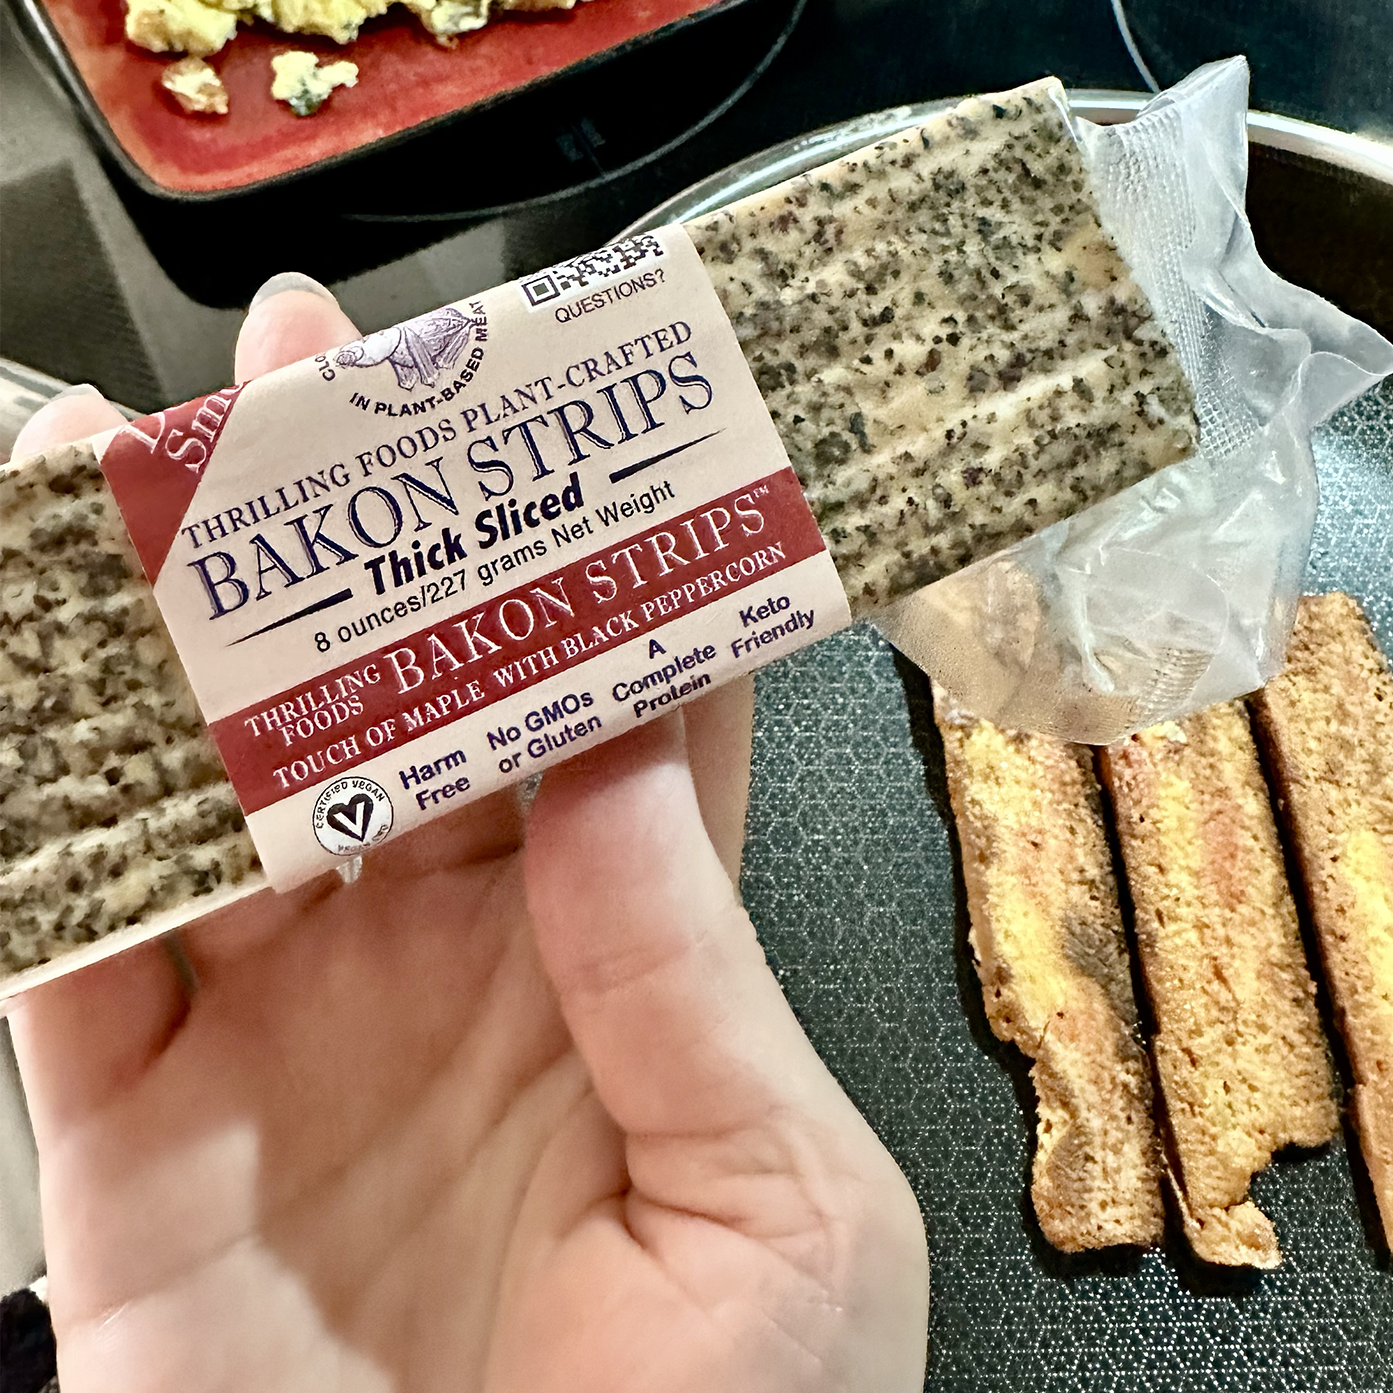
My two favorite new ingredients are Miyokos plant milk butter, which is cashew and coconut based, and Just Eggs which is made from mung beans and works surprisingly well, even in omelettes. Since this was my first time swapping these into my baked goodies I really didn’t expect great results. Honestly, I expected them to just melt into one big blob on the cookie sheet. I specifically chose this recipe as my first test because I knew that pressed cookies are so demanding. Would the revised dough even hold the delicate details when they were baked? Was I ever surprised, they were perfect!

But what about the taste and texture? I was really thrilled when I tried my first bite! It was crisp, crumbly, and buttery, just like the original recipe. Of course, the big test was to see if others would agree with me. It’s decided to add them to my holiday cookie assortment to share with my friends. It was a unanimous “yum!” And the friends who had diet restrictions that usually kept them from enjoying such treats were more than thrilled. Hooray. A big win all around.

Pressed cookie cutter
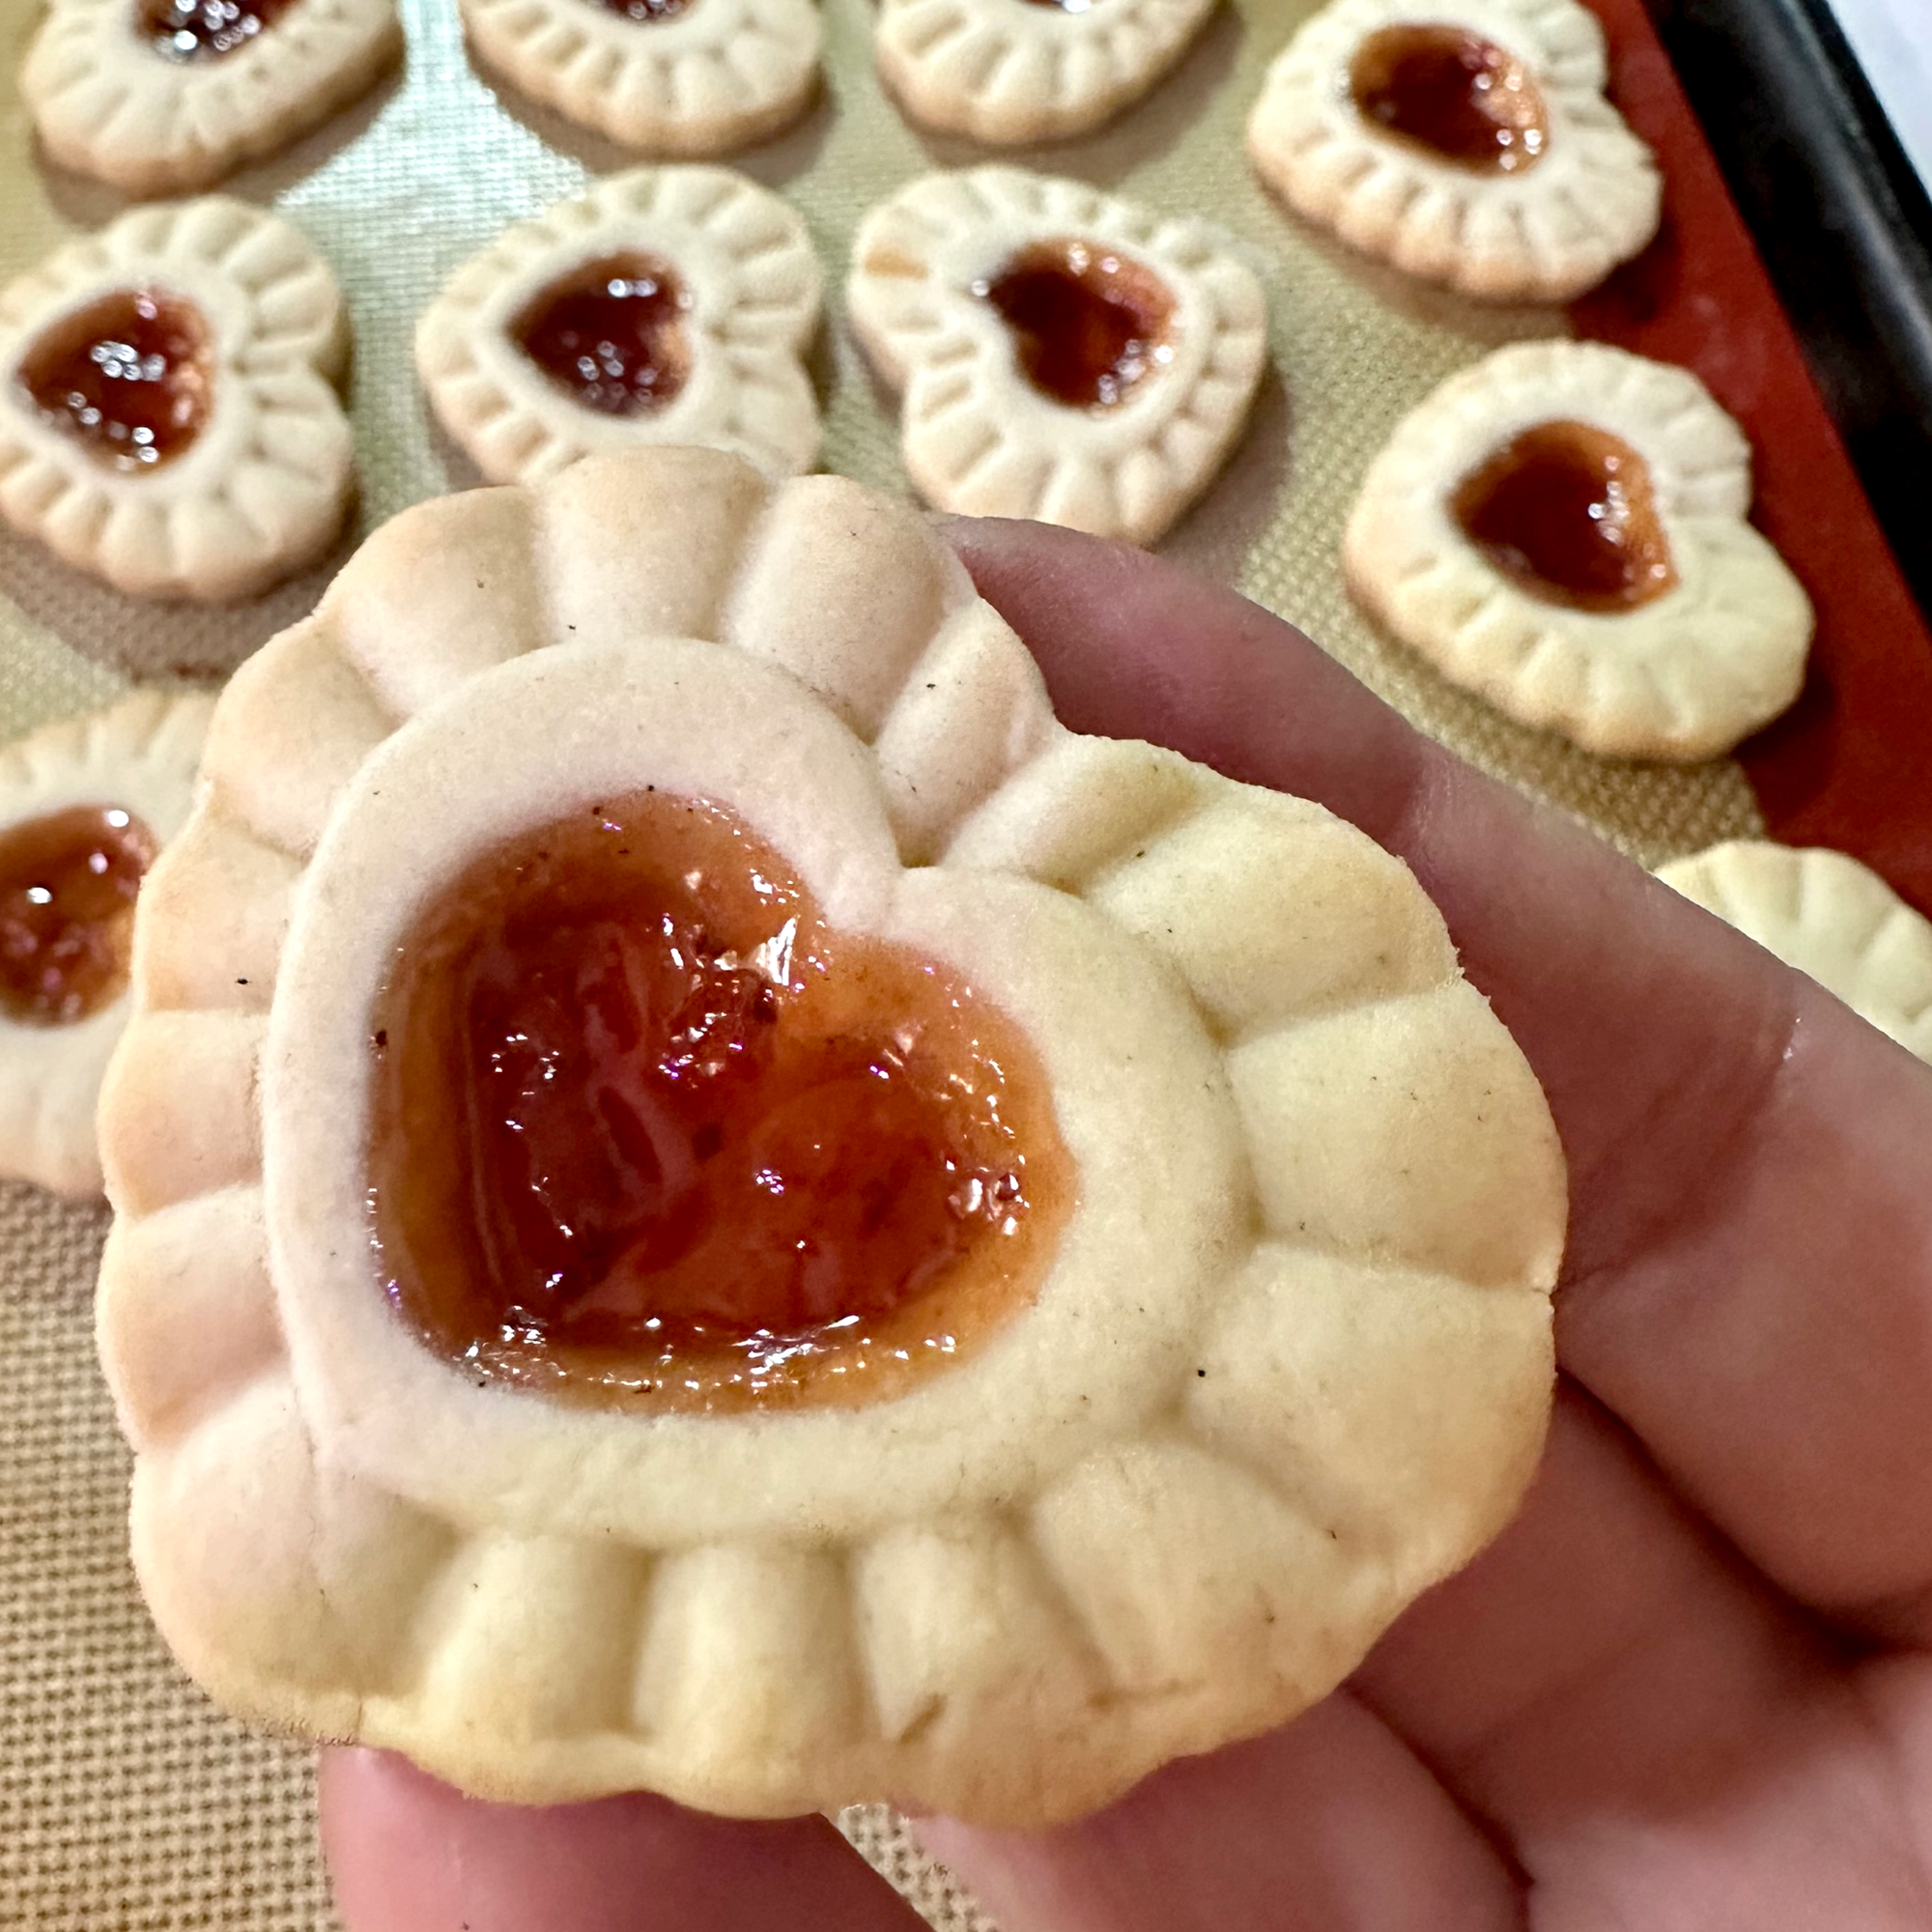
One of the best parts of this cookie is how easy it is to make something that looks so beautiful and professional. The heavy-lifting is done using these spring-plunger cookie cutters that press the pattern and a hollow for jam as they cut the shape. Mine were purchased several years ago, but there are lots of shapes now available on Amazon (sponsored). I have also been having fun with embossed rolling pins (sponsored), and I think this recipe would work really well on them as well!


I find it’s helpful to use silicone spacers (sponsored) on my rolling pin to get a consistent dough thickness. It’s important not to roll the dough too thin so the embossing cutter can give a good impression. You can also use sticks on either side as you roll the dough.
Filling & decorating the cookies
For the fillings, I like to use Bon Maman preserves, but they can be a bit chunky. I hit them for a few seconds with the immersion blender. That way I don’t have to worry about a berry getting stuck in my piping bag (and coming out in one big blob!) My favorite thing is to use disposable icing bags to make filling more precise. I can cut a small tip off which makes it really easy to get just the right amount in each cookie without dripping all over. Remember not to overfill the cookies, since the jam does tend to bubble up when cooking.


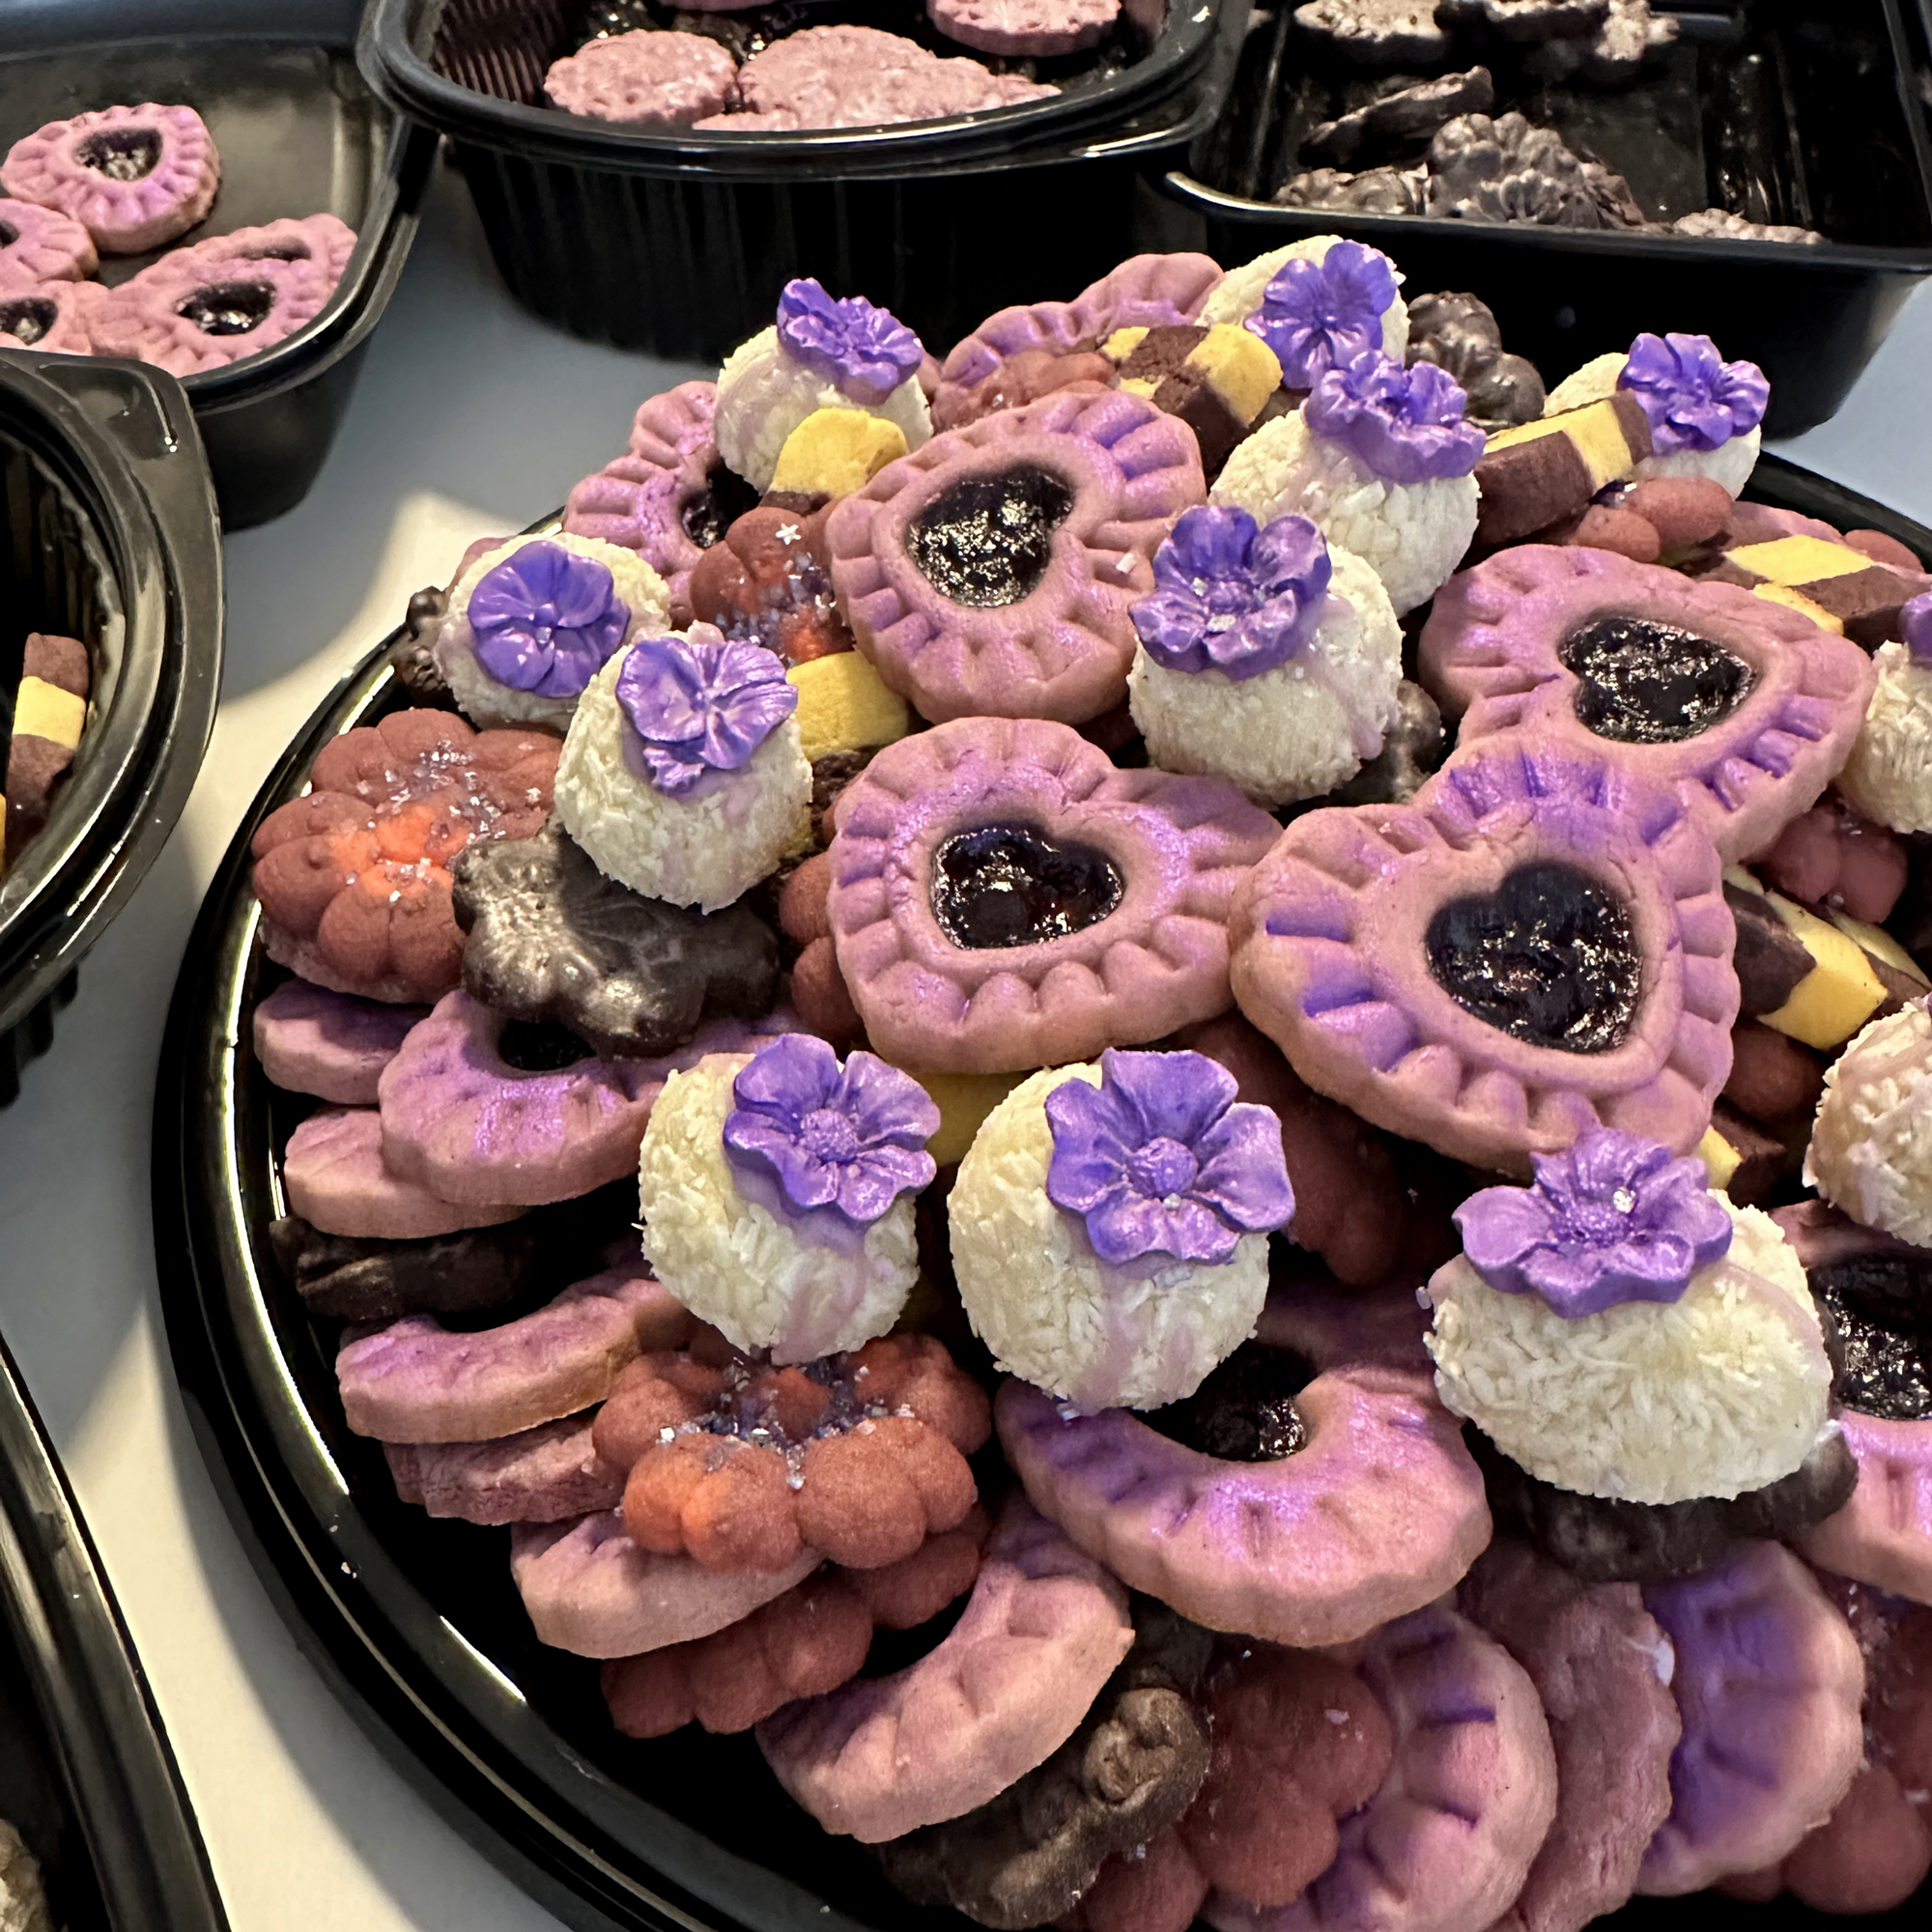
Usually I just leave these cookies as they are when I make them for my holiday cookie collections, but I recently baked a tray of goodies for a birthday party that had a violet theme, so I decided to play around with some color. Using a little purple gel food coloring, the dough turned to a lovely lavender shade, and switching to blackberry filling brought the color theme out even more. After filling the cookies, I brushed on some luster dust to give them even more of a violet shimmer. I think they turned out really amazing! I may need to add some gold sparkle to my holiday cookies next year!

I hope you give these cookies a try, and let me know how you like them! and be sure to check out some of my other recipes, like Fresh Pineapple Empañadas, or my beautiful Valentine’s Day Brownie Bites.

Ingredients
- 3 c all-purpose flour
- ½ c corn starch
- ½ tsp kosher salt
- 1 c Miyoko's unsalted plant butter
- 1 c granulated fine bakers sugar
- ⅔ c Just Eggs (plant based egg alternative)
- 2 tsp vanilla bean paste
- gel food coloring (optional)
- strawberry, apricot, or other preserves for filling
- luster dust (optional)
Instructions
Prepare
- Line baking sheets with silicone mats (or parchment paper) and set aside.
- Combine flour, cornstarch, and salt in a small bowl, using a whisk.
- Prepare fillings by putting them into disposable icing bags. Do not cut the tip until you are ready to fill. (Note: if preserves have large chunks of fruit you can use an immersion blender to break them into smaller bits to fit through the opening easier.)
- Consider decoration: although these cookies are beautiful on their own, you may want to give them a bit of pizazz by adding food coloring, or luster dust. I especially enjoy coordinating the colors of the cookie, filling, and decoration (For instance: violet cookies, blackberry filling and purple luster).
Mix
- Put plant butter and sugar into the bowl of the stand mixer and cream on medium speed until mixed well. (Note: If the mixture looks separated you can add a teaspoon of flour to get it smoother.)
- Add the Just Egg, a little at a time, until combined.
- Add vanilla and mix.
- Add the flour mixture, a little at a time, into the bowl and mix in. Continue to mix the dough for 3-5 minutes, until it pulls away from the sides of the mixer bowl.
- If you are adding food coloring, separate the dough (if desired) and mix in colors now. Add a few drops at a time till you get the shade you want.
Shape
- Flour your work surface and rolling pin. Add ¼ spacers on your rolling pin, or use sticks to maintain dough thickness. Note: you can also use parchment to help roll the dough, but I prefer a light dusting with flour.)
- Turn dough out onto your floured work surface. Roll dough evenly to the ¼" thickness.
- Press and cut shapes into the dough, removing cookies to the baking sheet. Gather the leftover dough and roll out again. Repeat until all dough is used up.
- Cut a small bit off the tip of the icing bag containing the jam. Add filling to each cookie, taking care to not overfill.
- Put the filled tray of cookies into the refrigerator to chill for 15 minutes before baking.
Bake
- Preheat oven to 375 F degrees. Place rack in center of oven.
- Bake cookies for 9-11 minutes. (Note: check for firmness on the edges of the cookie, the color will still be light and not browned.)
- Remove the tray from the oven and let cookies cool on baking sheet for 2-3 minutes. Transfer to a wire cooling rack and cool completely to let filling firm up.
Decorate
- Brush cookies with luster dust if you want a little sparkle.
- Once cooled, store cookies in a single layers separated by parchment or waxed paper to keep them from sticking together.


Leave a Reply