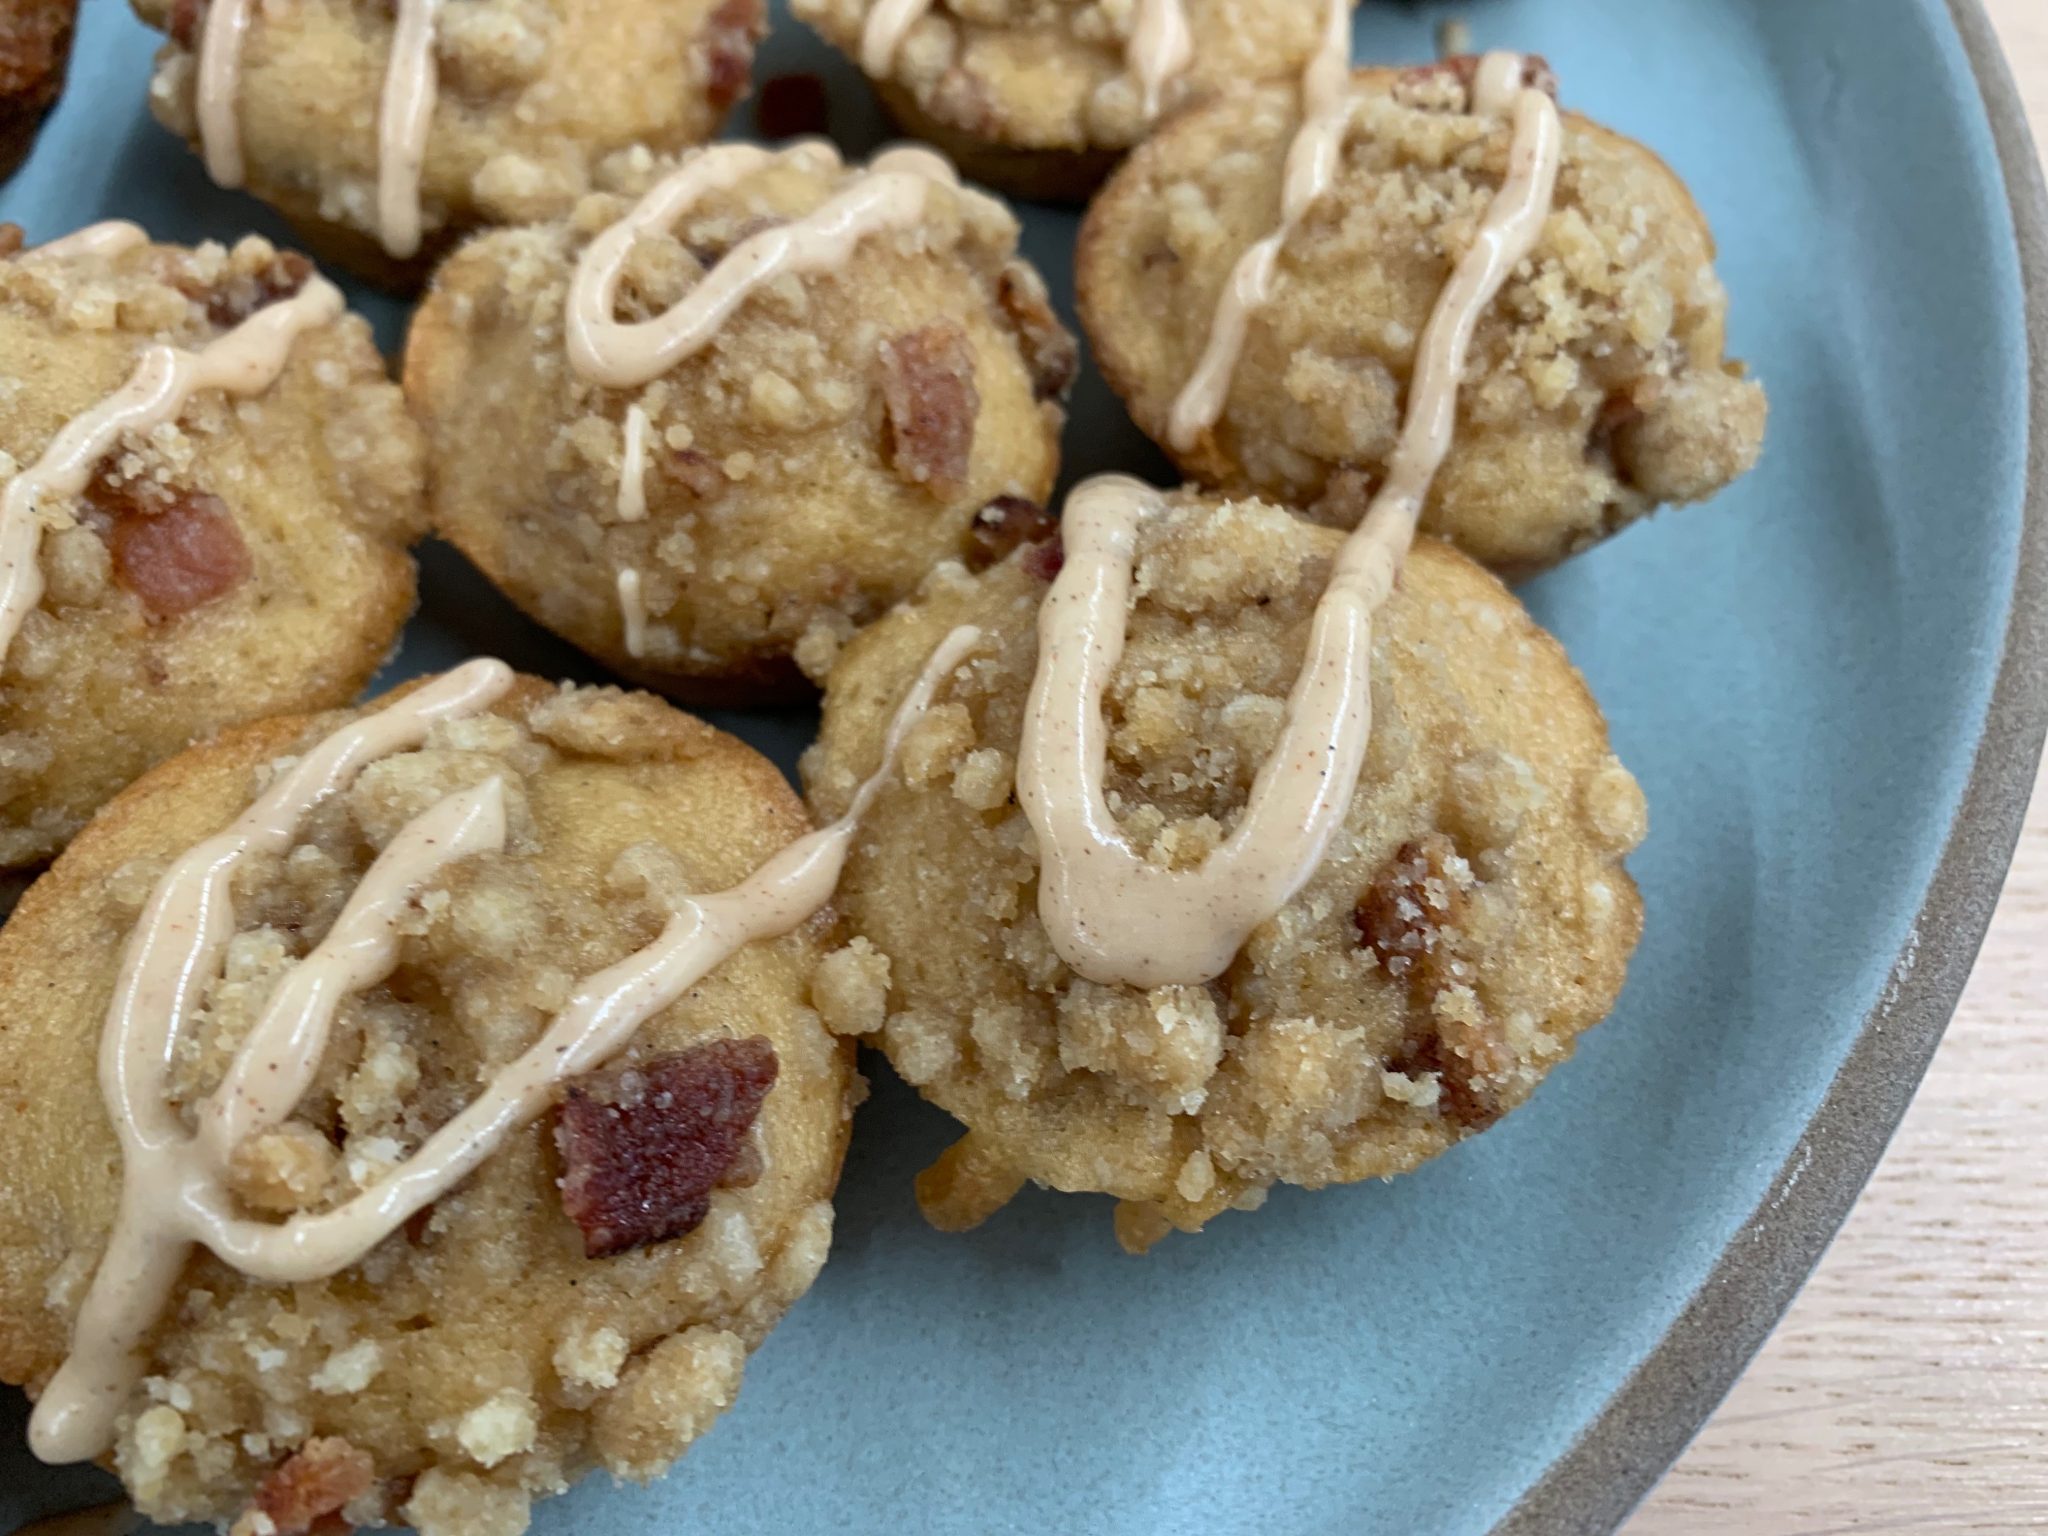
Who doesn’t love bacon? These savory & sweet maple bacon mini-muffins are a great breakfast buffet grab. They are also a perfect size for a small snack (if there are any left over).

This is one of my favorite choices when I am called-on to bring treats in to feed a (large) group of co-workers (my chocolate brownies are another favorite). The first time I made these maple bacon mini-muffins they went in a flash. The recipe below is just a single recipe, but you can easily double it. I like to make them mini-muffin sized, so they are easy to grab and aren’t a big commitment. Also helpful if you are watching your portion sizes (as I always am).
Feel free to mix things up
I usually like to bake two or three different flavor muffins when feeding a group. Offering healthy options for people with different diet restrictions is always a nice thing to do. You can pair these muffins with my Apple, Oat and Almond Flour mini muffins, or maybe a blueberry or gluten-free zucchini muffin. Also consider using different shaped muffin pans for different flavor muffins. It’s not necessary, but gives your bake an added visual treat.
You can use muffin cups if you like, but I don’t bother with them. As long as you spray your muffin tins well with non-stick spray that’s meant for baking (it has flour in it), they will come out of the baking tins easily. Another tip is to wash the tins between batches and re-spray. It does takes a bit more time, but there’s nothing worse than having a batch of muffins get stuck in the pan! Silicone pans are also a good choice (my zucchini muffins were done in a square silicone pan).
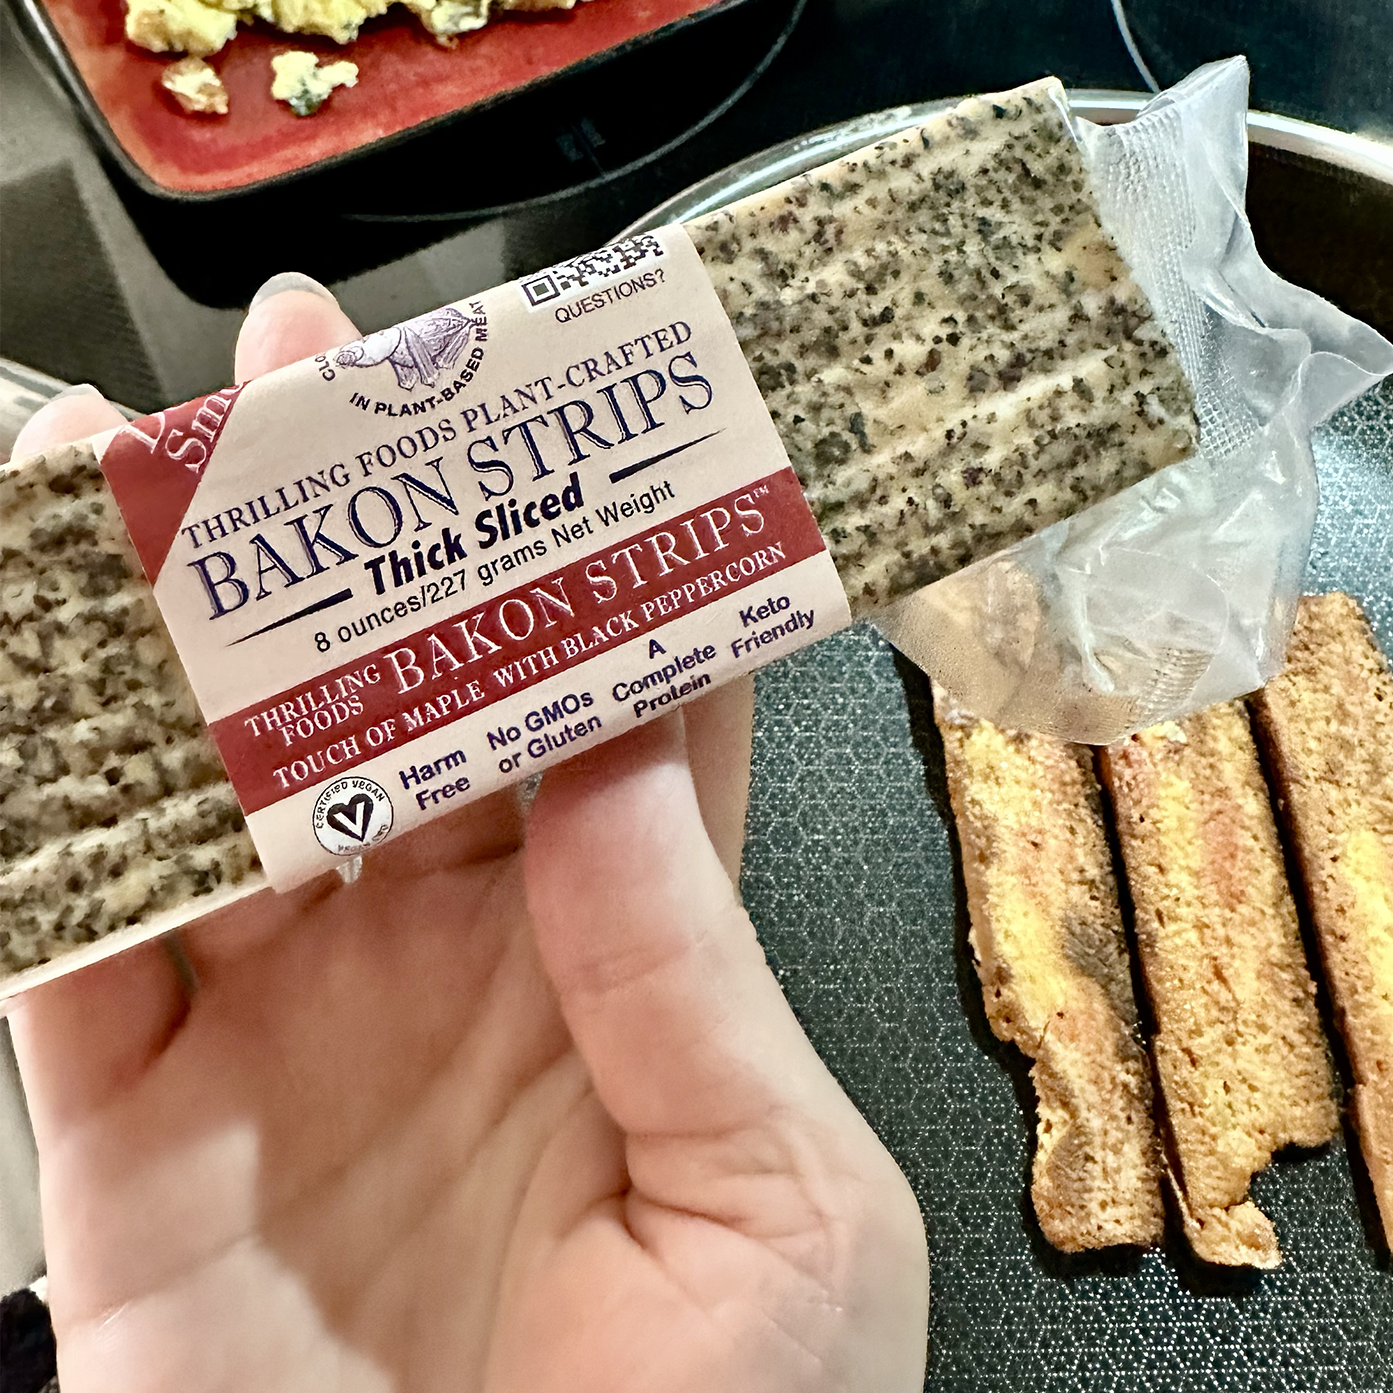
If your time is limited, you can shorten your prep time for these maple bacon mini-muffins by cooking and crumbling the bacon in advance. You can also use pre-cooked bacon, which is available in some markets. I think I’ll try to remember to do that the next time.
Bake the night before
If you will be serving your muffins in the morning, you can bake these the night before and store them in an airtight container. They don’t need to be refrigerated. When you set them out to serve, drizzle the glaze over top of them. This makes it much easier to transport them without having the maple glaze drizzle getting smeared over everything. I use a small squeeze bottle for the glaze. This is the one I like. Makes transport of the muffins much easier, and looks perfect on the plate.

Anyhoo … let’s get baking!

Ingredients
Cake
- 6 strips Bacon crispy, crumbled
- 1 Egg
- 1/2 cup Dark brown sugar
- 2 tsp Vanilla bean paste
- 2 Tbsp Sour cream
- 1/2 cup Maple syrup
- 1/4 cup Bacon grease reserved from cooking bacon
- 1 cup Milk
- 1/8 cup Lemon juice juice of 1 lemon
- 2 cups Flour
- 1 Tbsp Baking Powder
- 1/2 tsp Baking soda
- 1/8 tsp Salt
- Non-stick cooking spray for baking
Crumble
- 1/2 cup Brown sugar
- 4 Tbsp Sugar
- 2/3 cup Flour
- 2 Tbsp Maple syrup
- 1/4 cup Unsalted butter melted
- 2 strips Bacon crispy, crumbled
Glaze
- 1 cup Powdered sugar
- 1/4 tsp Cinnamon
- 1 Tbsp Salted butter very soft
- 1/2 tsp Vanilla bean paste
- 1/4 cup Maple syrup
Tools
- Frying pan
- Stand mixer with whisk attachment
- Whisk
- Large mixing bowl
- Silicone spatula
- Measuring cups
- Measuring spoons
- 2 Mini muffin tins 12-muffins per pan
- 2-cup Pyrex measuring cup
- 2 Cooling racks
- Parchment paper
Instructions
Bacon prep
- Gather all your ingredients. You’ll need the butter for the glaze to be very soft, so put it someplace warm (but don’t melt it).Preheat your oven to 350° F, and make sure your shelves are in the middle-top of the oven.

- In a large frying pan, cook bacon till crisp. Remove to plate with paper towels to drain excess oil. Let cool and then cut into small crumbles. You want a few medium-sized bits, and lots of fairly small crumbs.

- Divide your bacon crumbles, setting aside a quarter of them for the topping. 3/4 of the bacon will be used in the cake.

Cake Batter
- In the bowl of your mixer, add eggs and brown sugar and whisk to blend.

- Add vanilla, sour cream, maple syrup, and bacon grease and mix well.

- In a 2-cup pyrex measuring cup or small bowl, add the juice of one lemon (approx. 1/8 cup) to 1 cups of milk.

- In a second mixing bowl, add flour, baking powder, baking soda, and salt. Use a whisk to combine.

- Add dry ingredients into the mixing bowl with wet ingredients. Add about a quarter of the dry mix and combine well, add the rest and continue to mix until well combined, scraping down sides of the bowl, and occasionally lifting the beaters.

- Add in the bacon you portioned for the cake. (Remember to save some for your topping.) Stir in to combine well.

- Remove bowl from mixer and scrap sides and bottom with silicone scraper, turning over to make sure bacon is well-distributed throughout. Set aside.

Crumble prep
- In a small bowl, add brown sugar, sugar, and flour. Mix together well with a whisk.

- Melt butter, add maple syrup and stir together.

- Pour butter mixture into the sugar mixture. Using a fork, toss the mixture to coat, but don’t overtax. You want large crumbs to form.

- Add the reserved bacon, and stir to mix. The topping should still have big and small lumps in it. This will form your crumble topping on the muffins.

Pouring and baking
- Spray two 12-mini-muffin tins with non-stick spray for baking (it has flour in it). I recommend doing two pans at a time, it will speed up the baking, and the pans are small, so most ovens will accommodate two of them on one shelf.

- Using a 1 Tablespoon measuring spoon, scoop cake batter into each cup. They will be about 3/4 full. Don’t over-fill, they will grow!

- Sprinkle some of the crumb topping onto each mini-muffin. Don’t overflow the cup, and wipe any crumbs off the tray into one of the muffins.
- Put the two trays of muffin batter and crumble on to the middle-top shelf of the oven. You don’t want it near the bottom, or the bottom of the muffins will get overcooked. If your oven won’t accommodate both pans on one rack, you should swap shelves halfway through the bake.

- Bake the mini-muffins for 12 minutes at 350°.You can test for done-ness by poking the top of one muffin. It should bounce right back. If it doesn’t, return to the oven for another 1 minute.
- Remove muffin pans from oven and set on rack for 2 minutes. Letting them rest will firm them up a little, making them easier to handle.I would usually turn the muffin pans over onto the cooling racks, but I found that the crumbs tend to fall off when I do that, so instead, I take a fork and gently lift them out of the pans one at a time, and set them on the cooling rack.

Glaze prep
- While the muffins are baking, you can quickly whip up the glaze.

- In a 2-cup pyrex measuring cup with spout, combine powdered sugar, cinnamon, very soft butter, vanilla bean paste, and maple syrup. Stir to combine well.

- Pour the glaze into a bottle for drizzling. (If you don’t have a bottle, you can pour the glaze into a ziplock bag. When you are ready to drizzle, snip a small bit off the corner of the bag.) Set aside.

Transport and finishing
- Once the muffins are cool you are ready to finish them.If you are making these to eat at home (yay!), assemble the muffins on a tray and skip ahead to the drizzle section.
- If you will be taking these muffins to another location, you can transfer the cooled muffins to an airtight container. Use parchment paper between the layers to keep them from sticking to each other.

- Assemble your mini-muffins on your serving tray. If you will be doing several layers of muffins in a stack, drizzle each layer before adding the next one.

- Step back and admire your muffins! (Don’t forget to do this step!)