
It’s Meyer Lemon season! Hooray! If you have been following this blog at all then you know what a freak I am for the fruit. If not, check out this post! I find ways to extend the season as much as I can, so I can eat Meyer Lemons year round. Second to squeezing and freezing the juice to use in recipes throughout the year, I love to preserve them. It’s so simple, and they last for a long time. This salt-preserved meyer lemon slices recipe also a really great thing to do with the ‘leftover’ lemons I get when my BF Trilo makes his Limoncello.
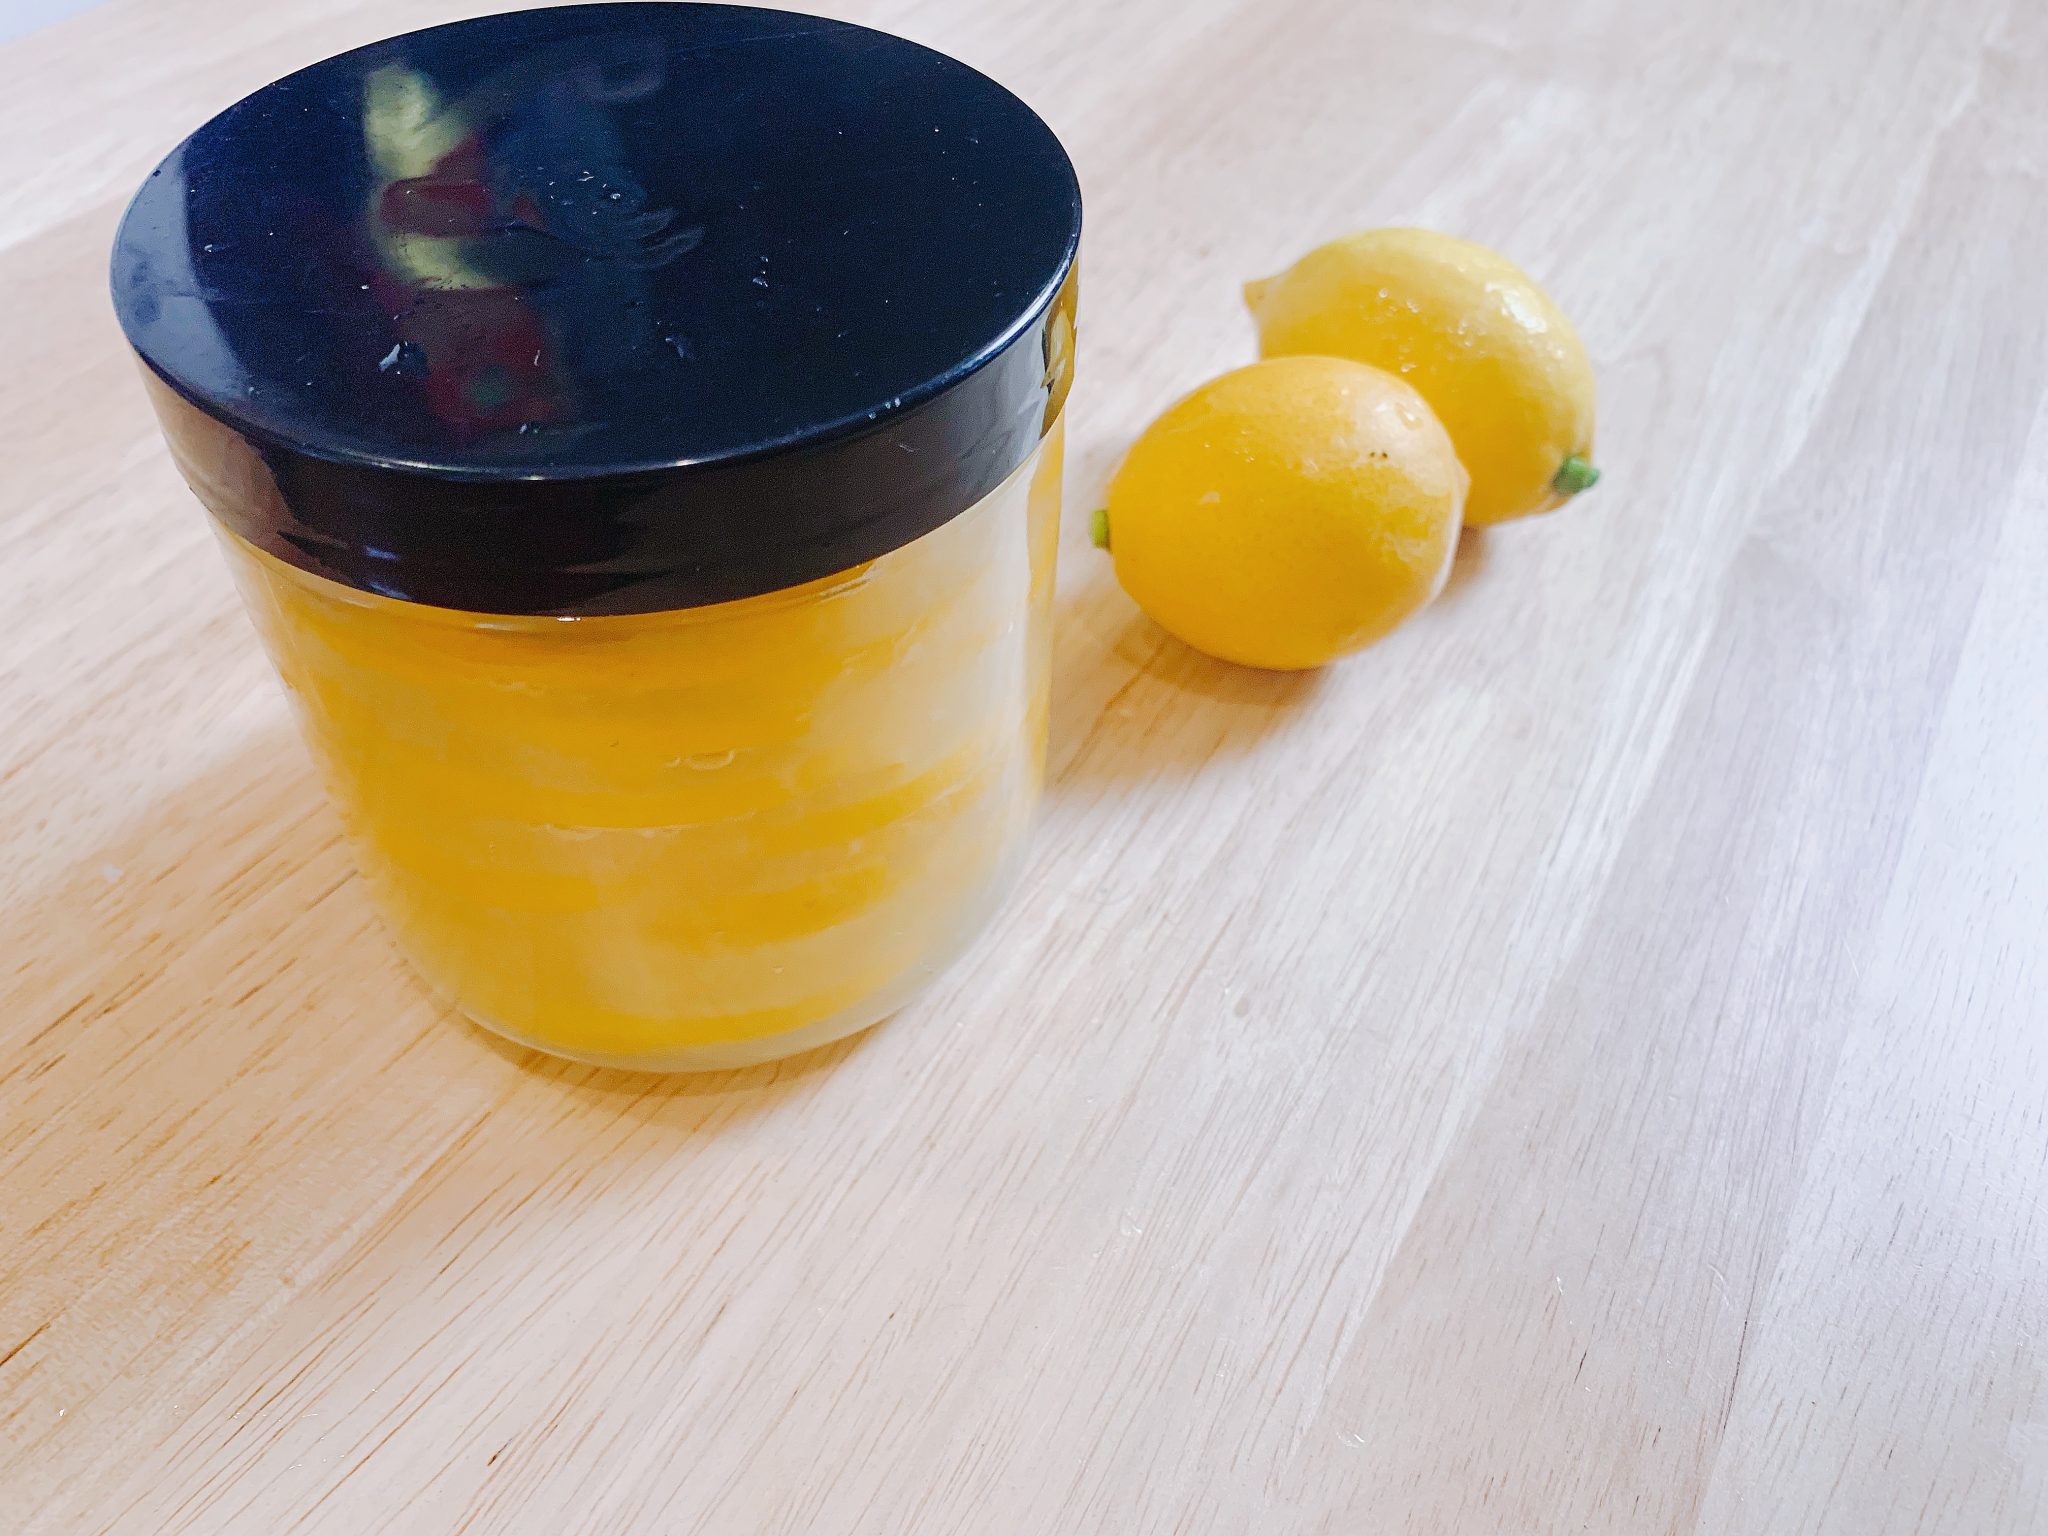
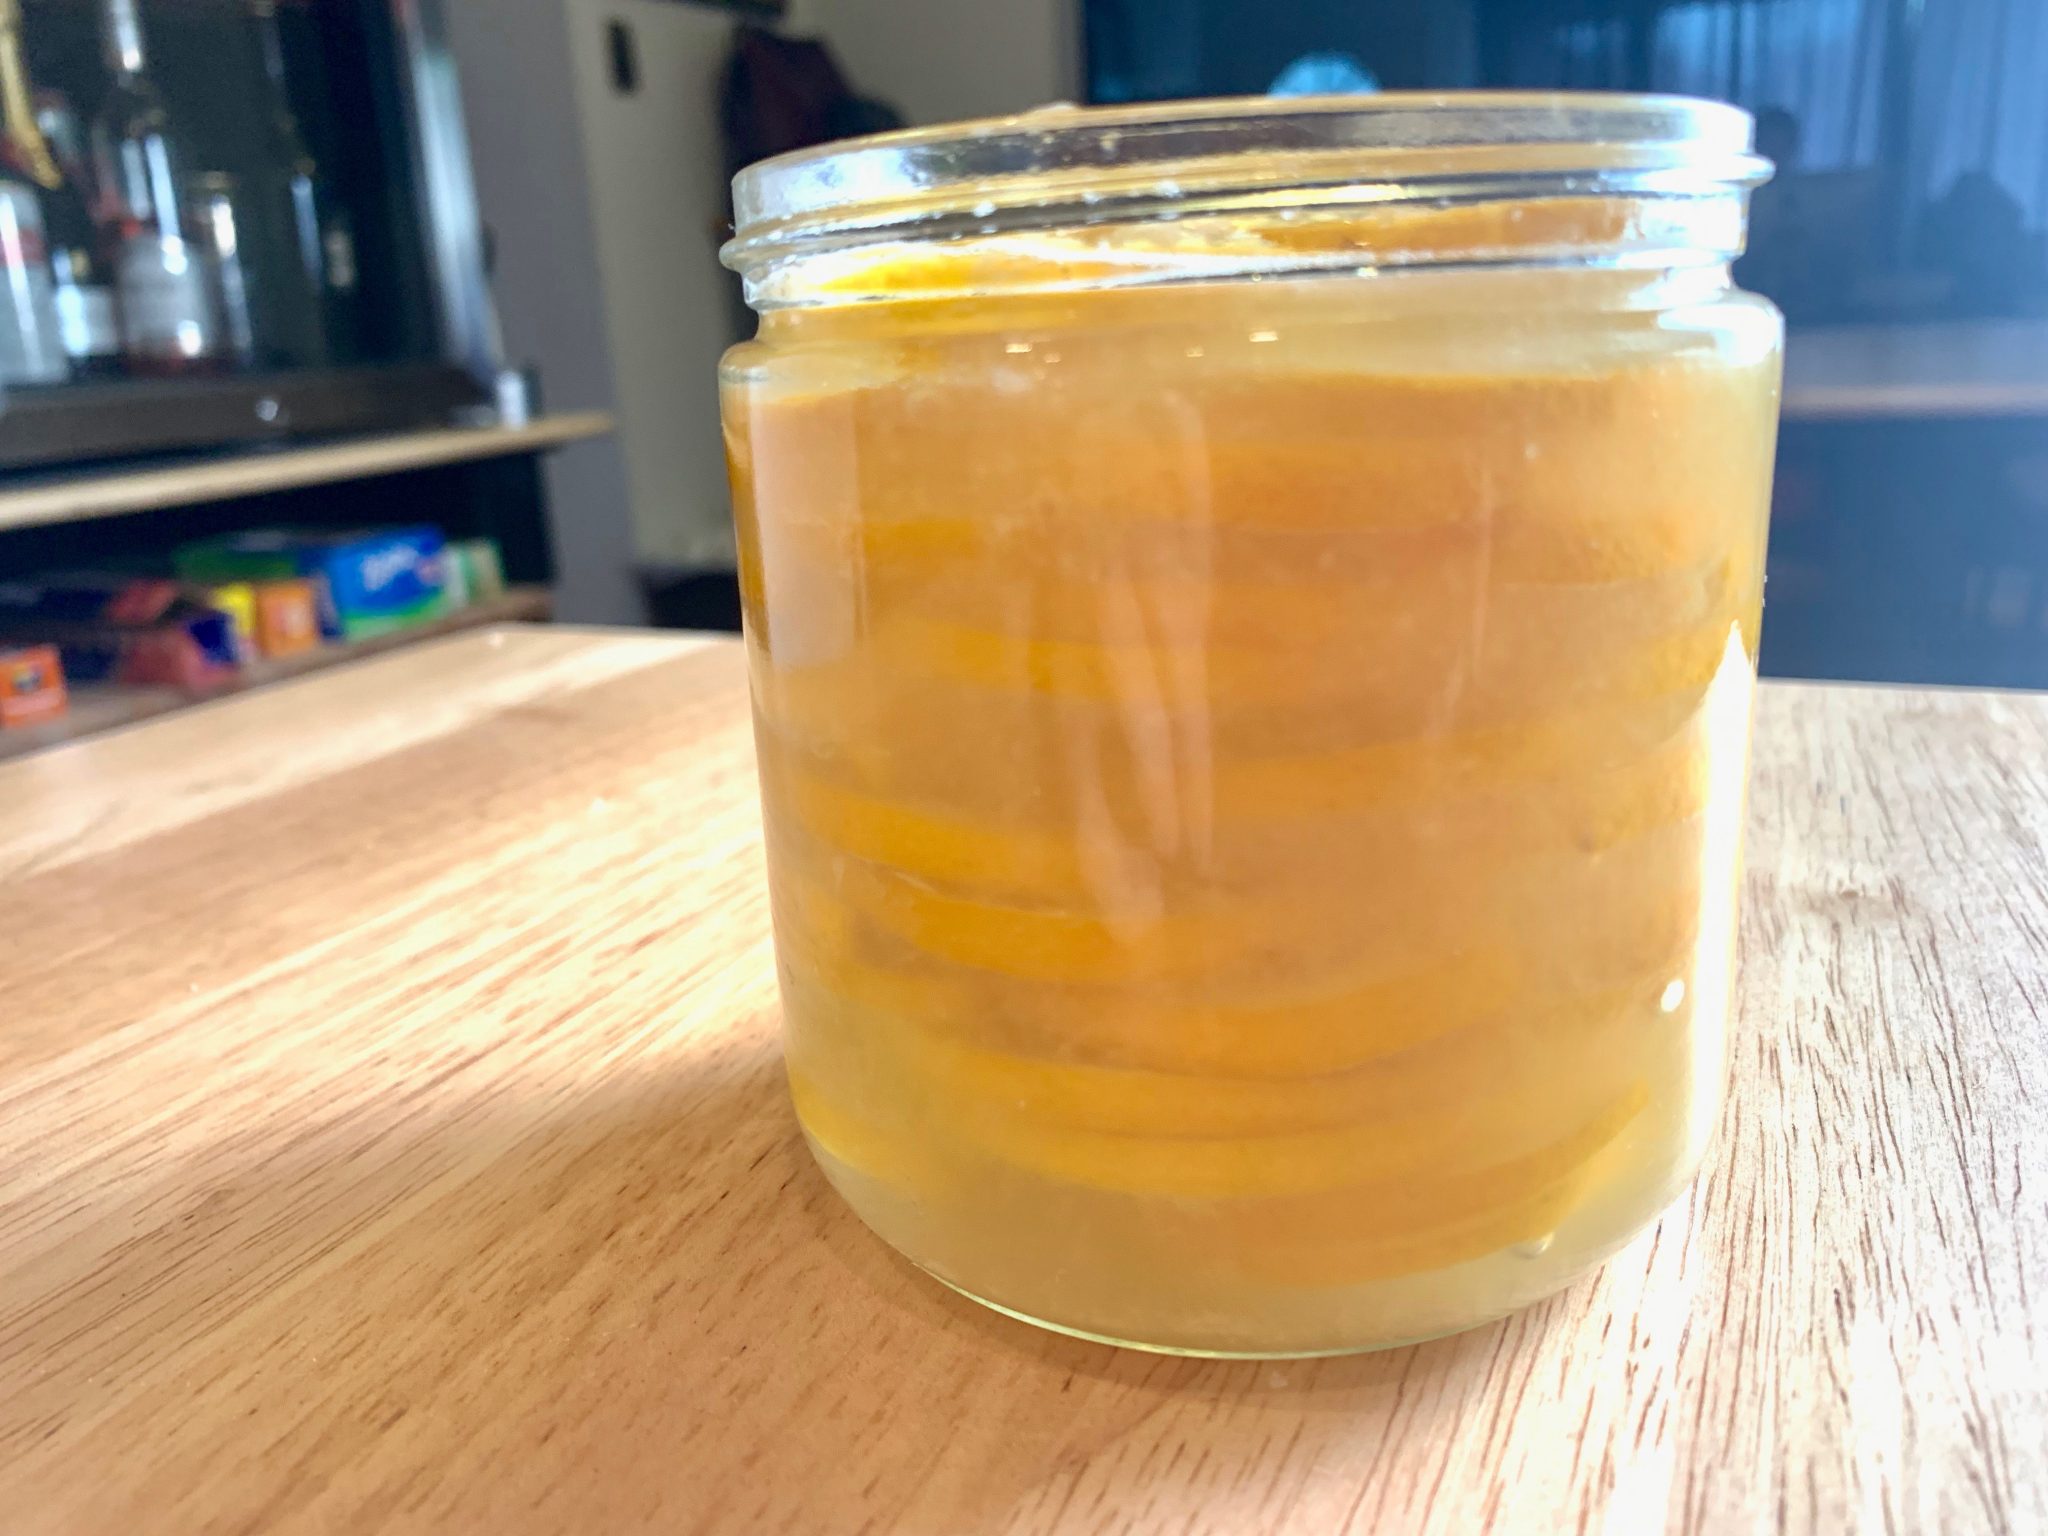
Over time, the salt breaks down the lemon, and it becomes super soft and salty-sour. I find meyer lemon slices to be the perfect addition to a dish like Crispy Carnitas Tacos, especially when I do them as lettuce wraps. The lemon cuts through the fattiness of the pork, and balances out the flavors and textures. I also like to layer them on crackers with charcuterie. I am sure there are Middle Eastern dishes where salt-preserved lemons come into play. Once you have some on hand you will find lots of uses for them.

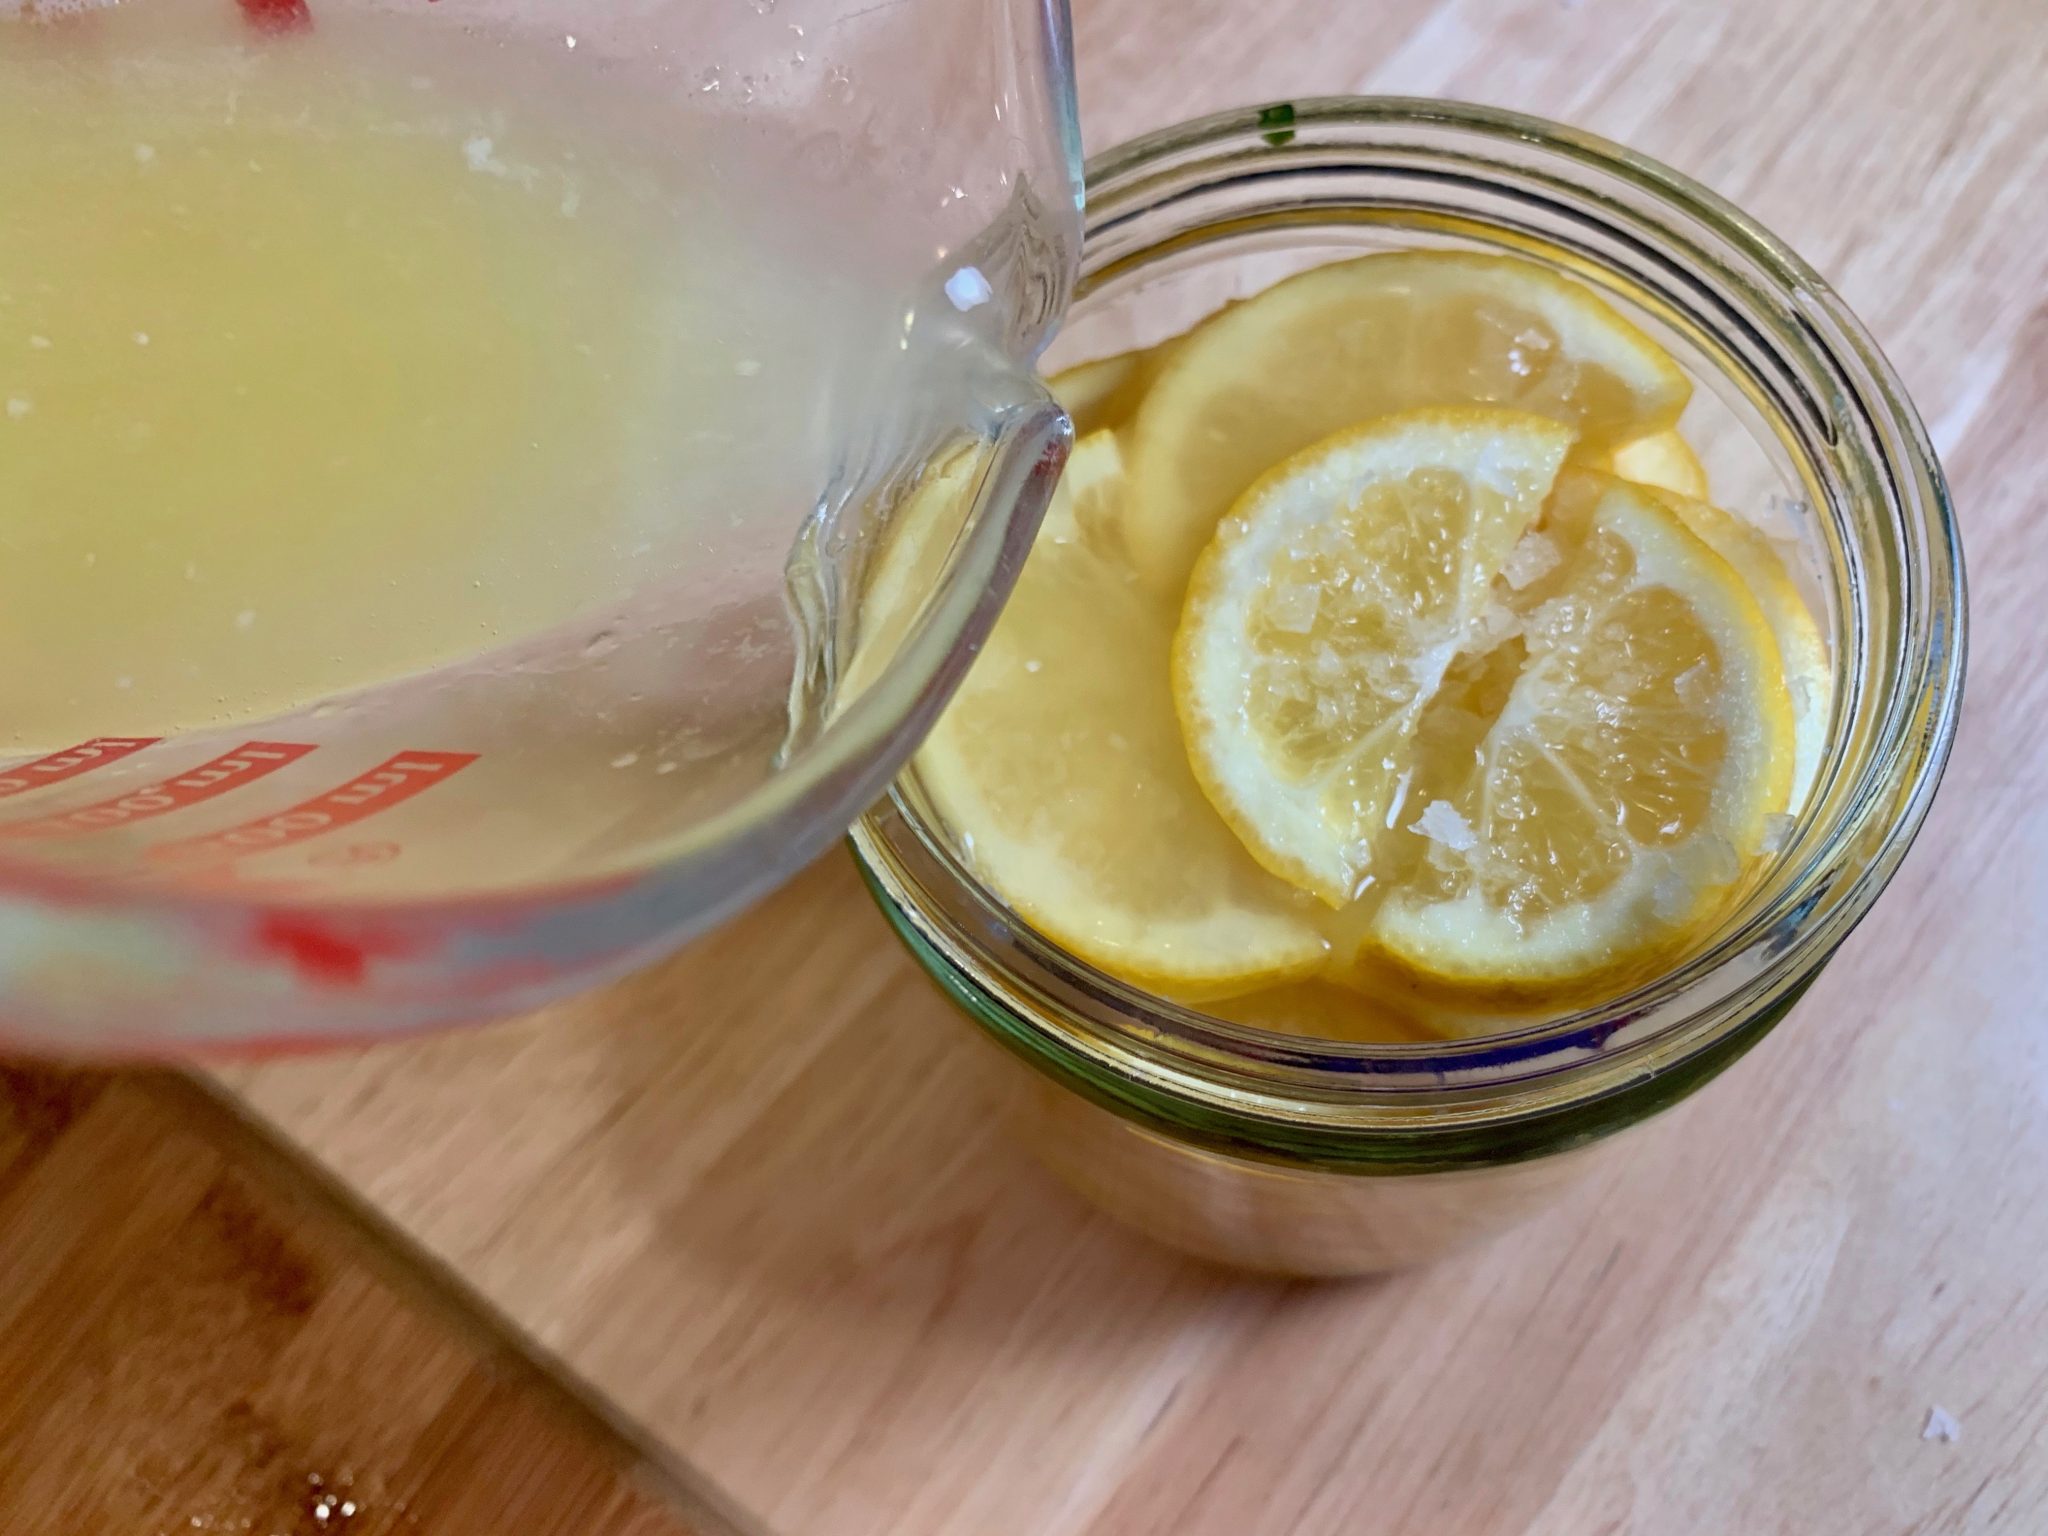
This is a super easy technique. Just make sure you have enough lemon juice to cover the slices in the jar. That’s important for preserving.
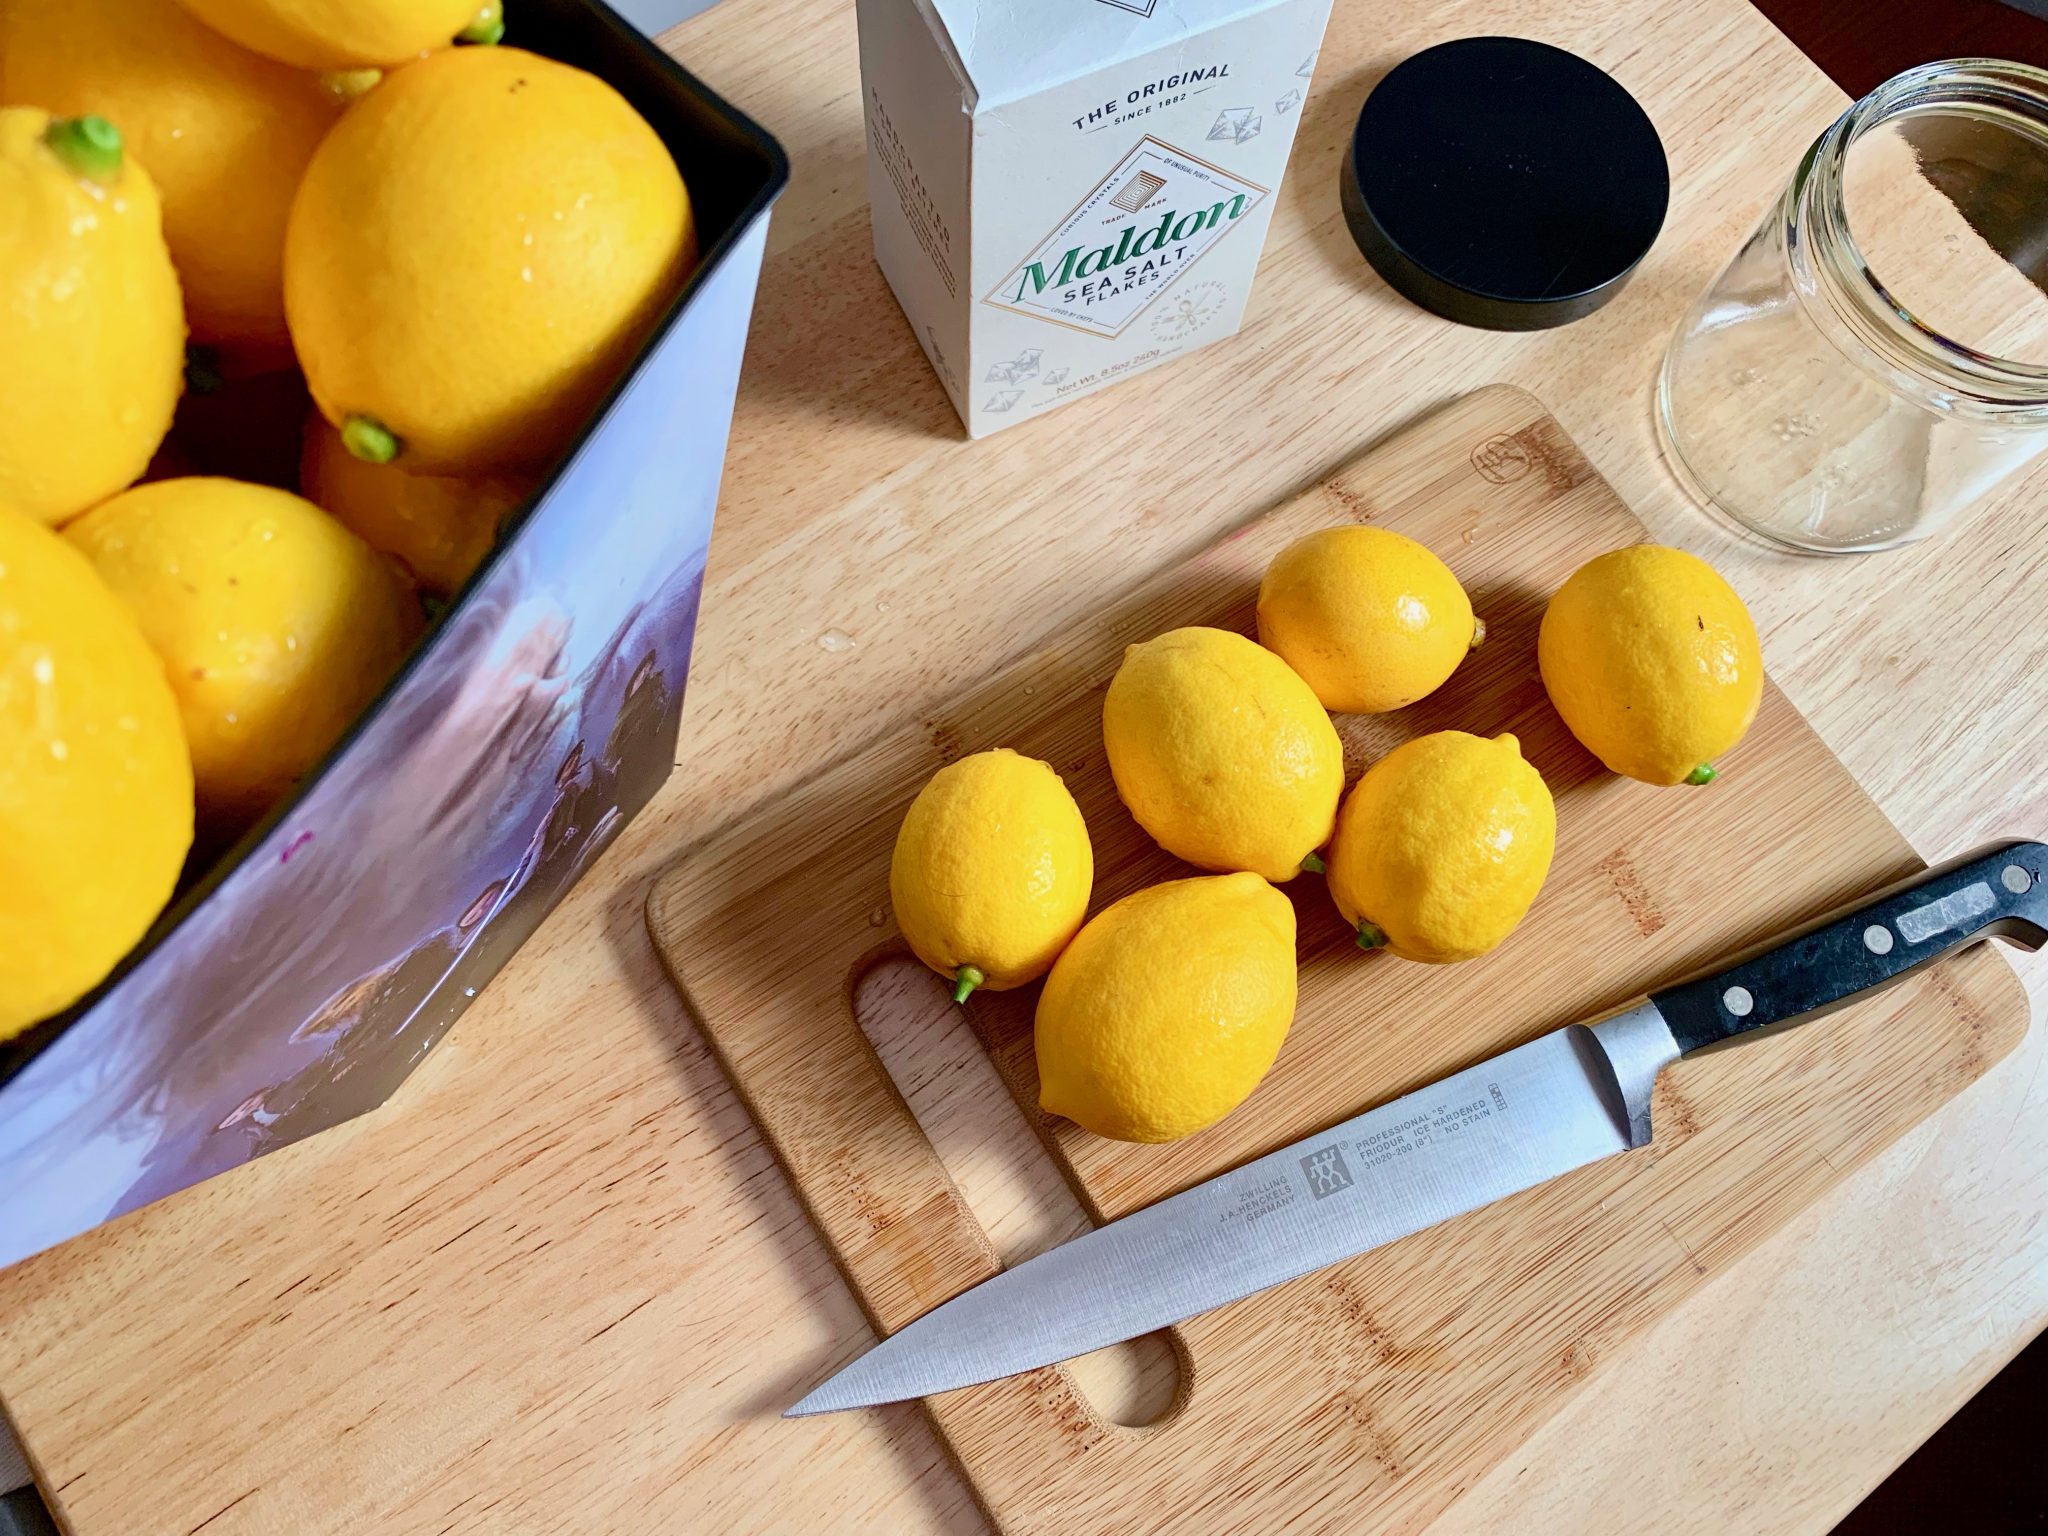
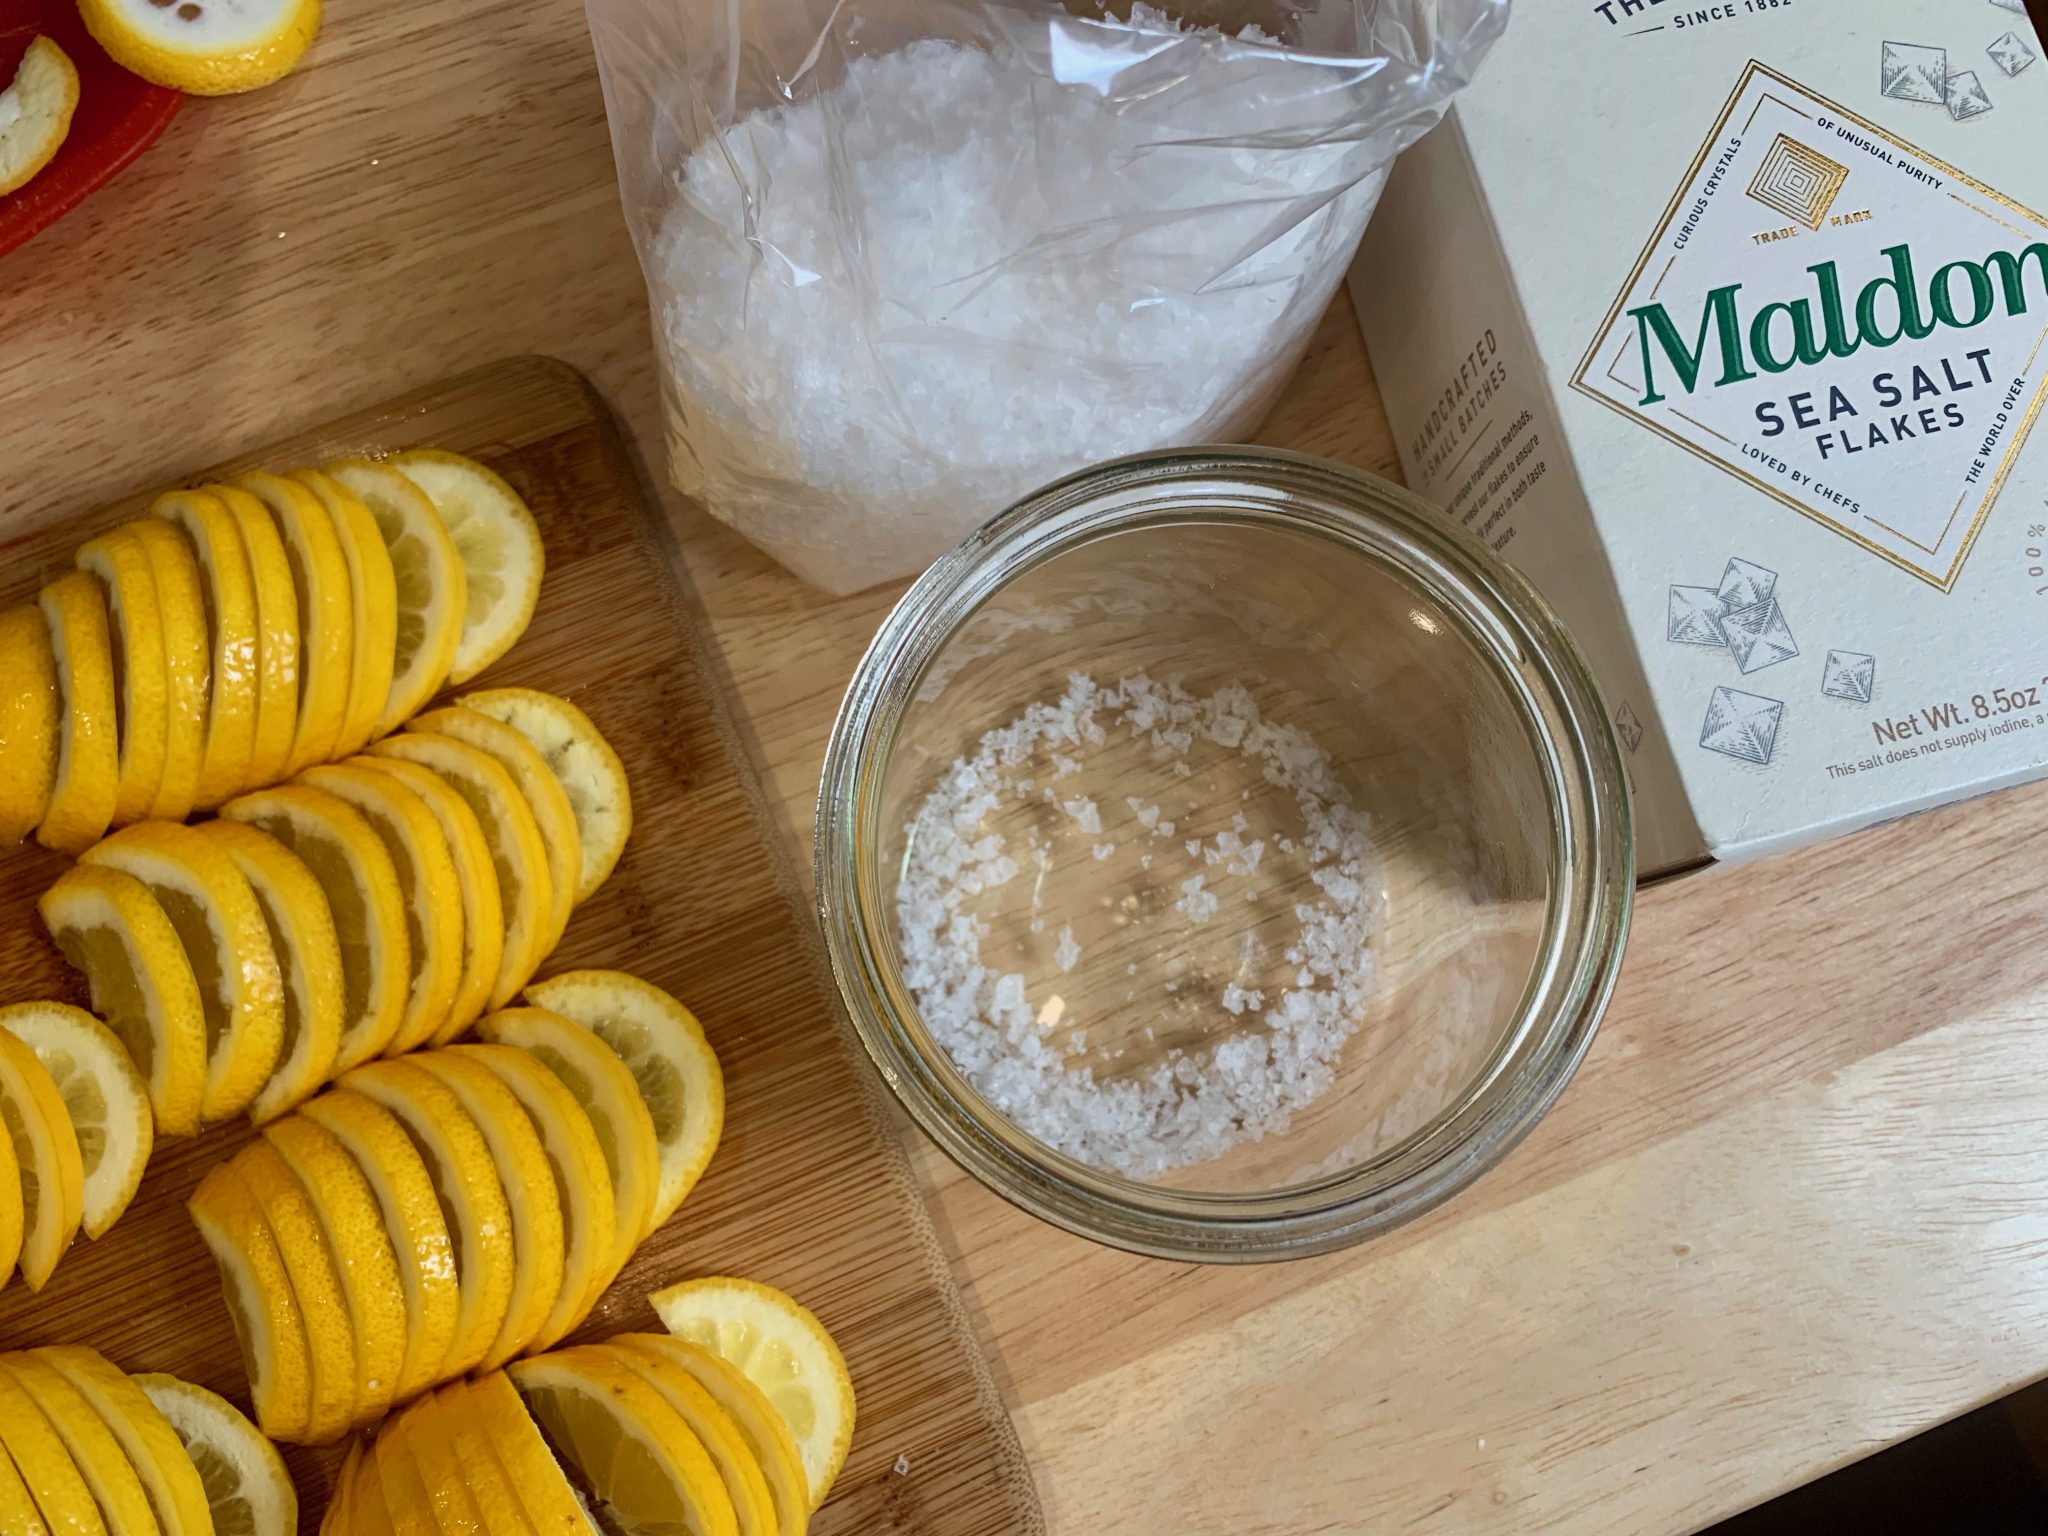
Ingredients
- 8 Meyer lemons for slicing
- 6 Meyer lemons for juicing
- 4 oz Maldon sea salt flakes
Instructions
- Gather ingredients and tools.

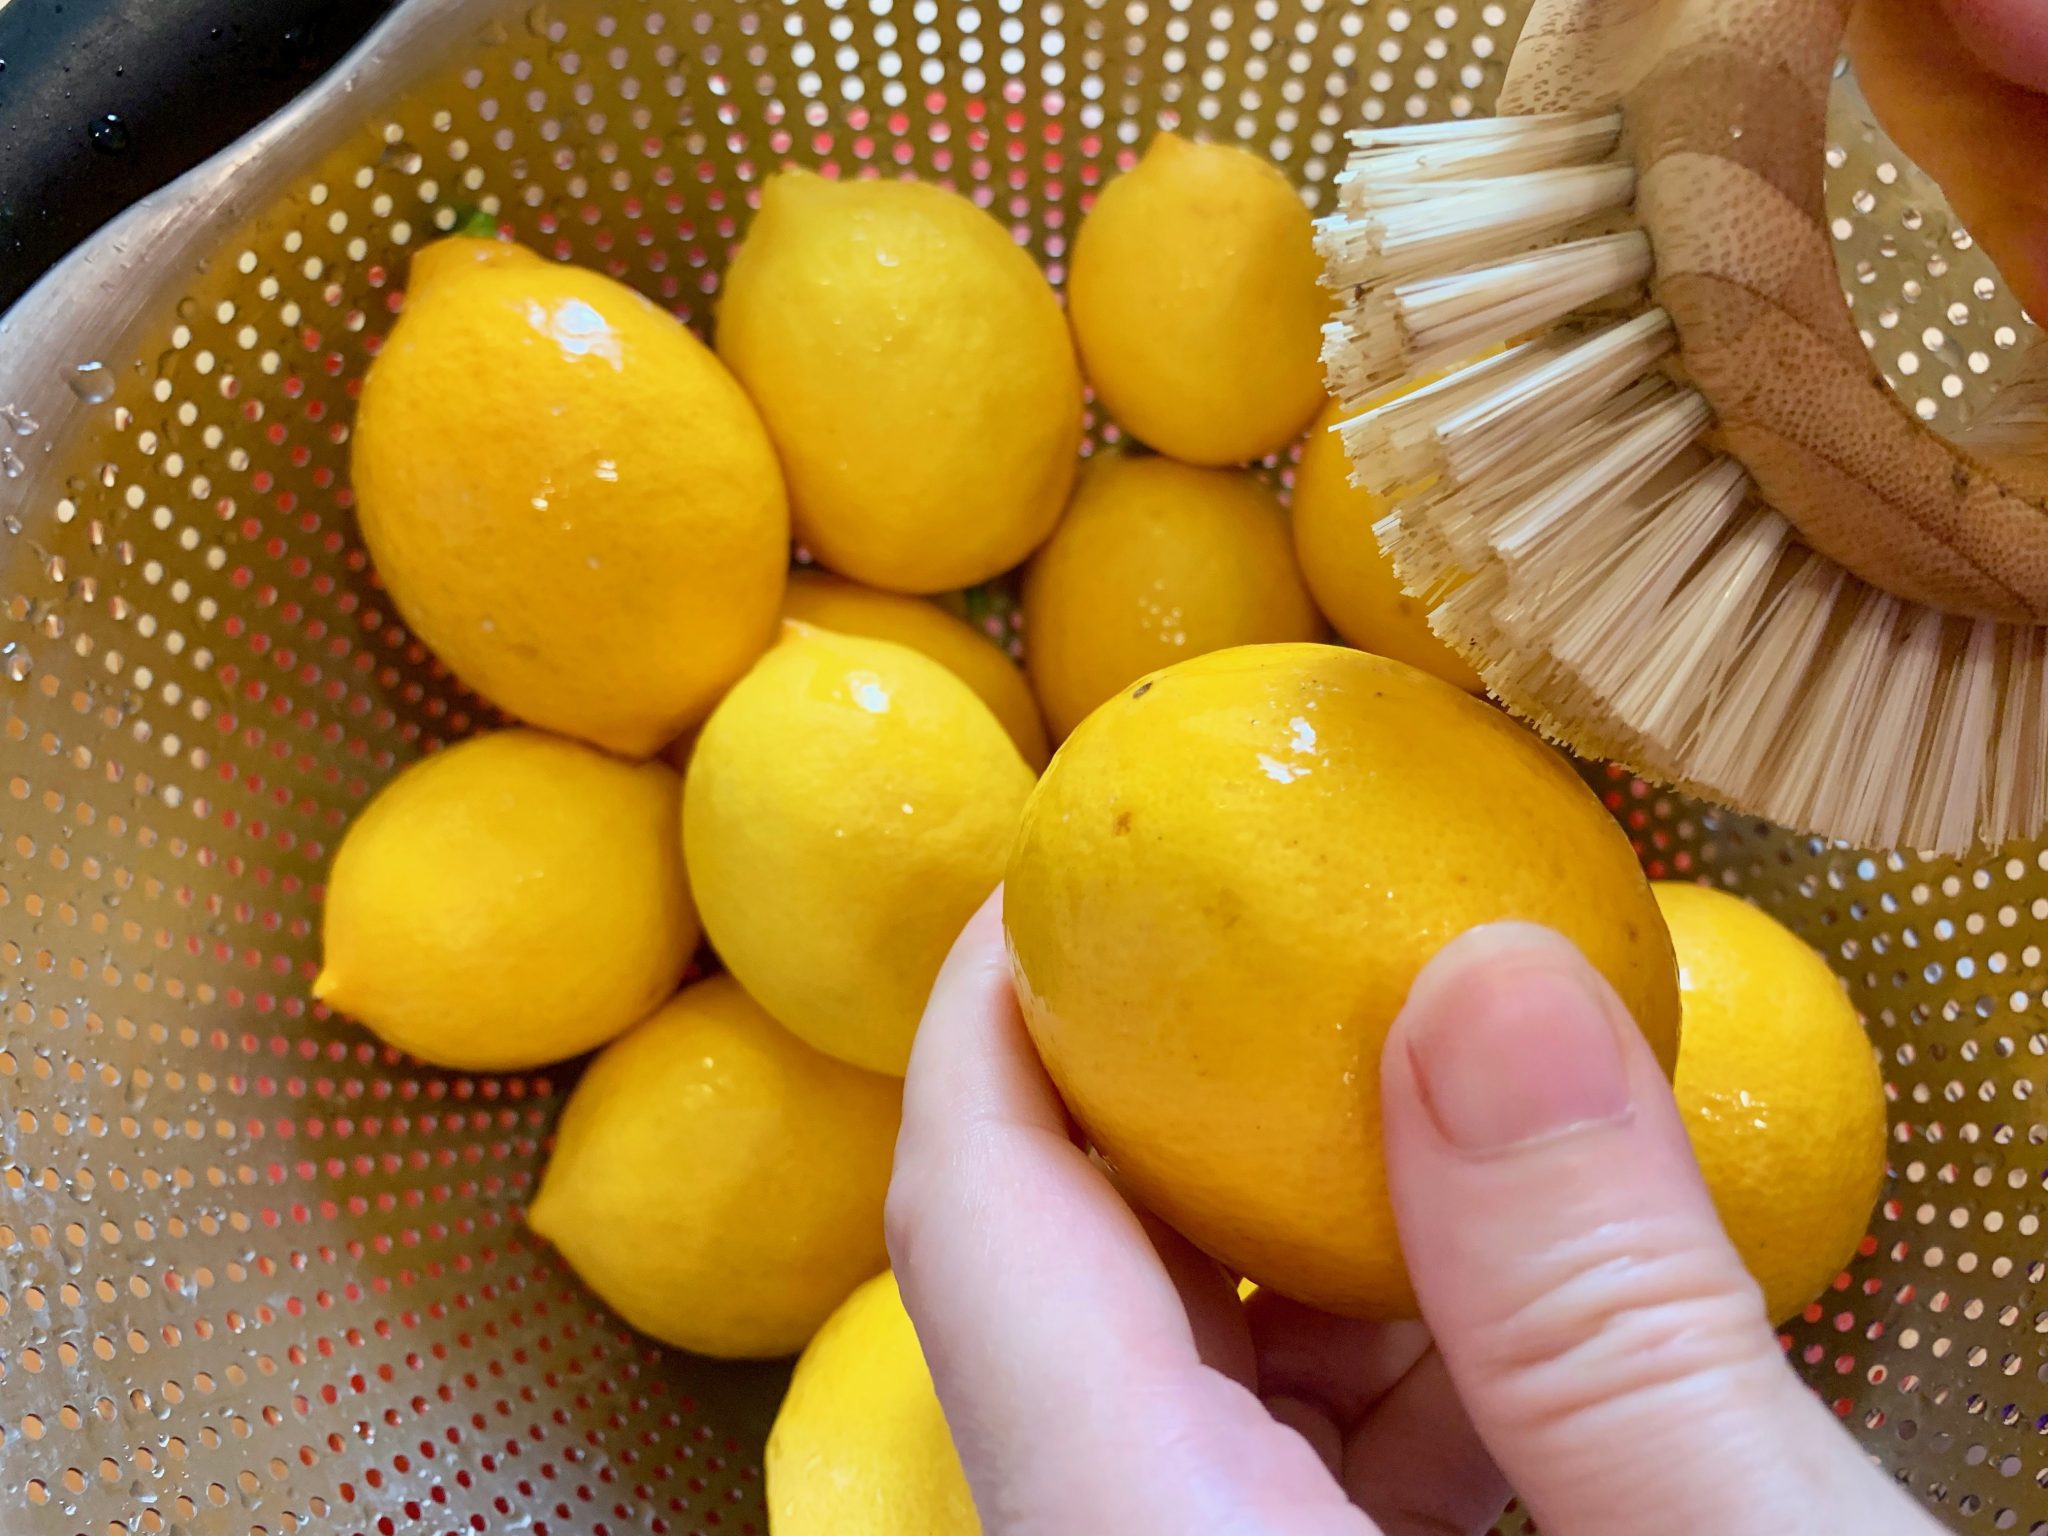
- Scrub the Meyer Lemons to remove dirt.
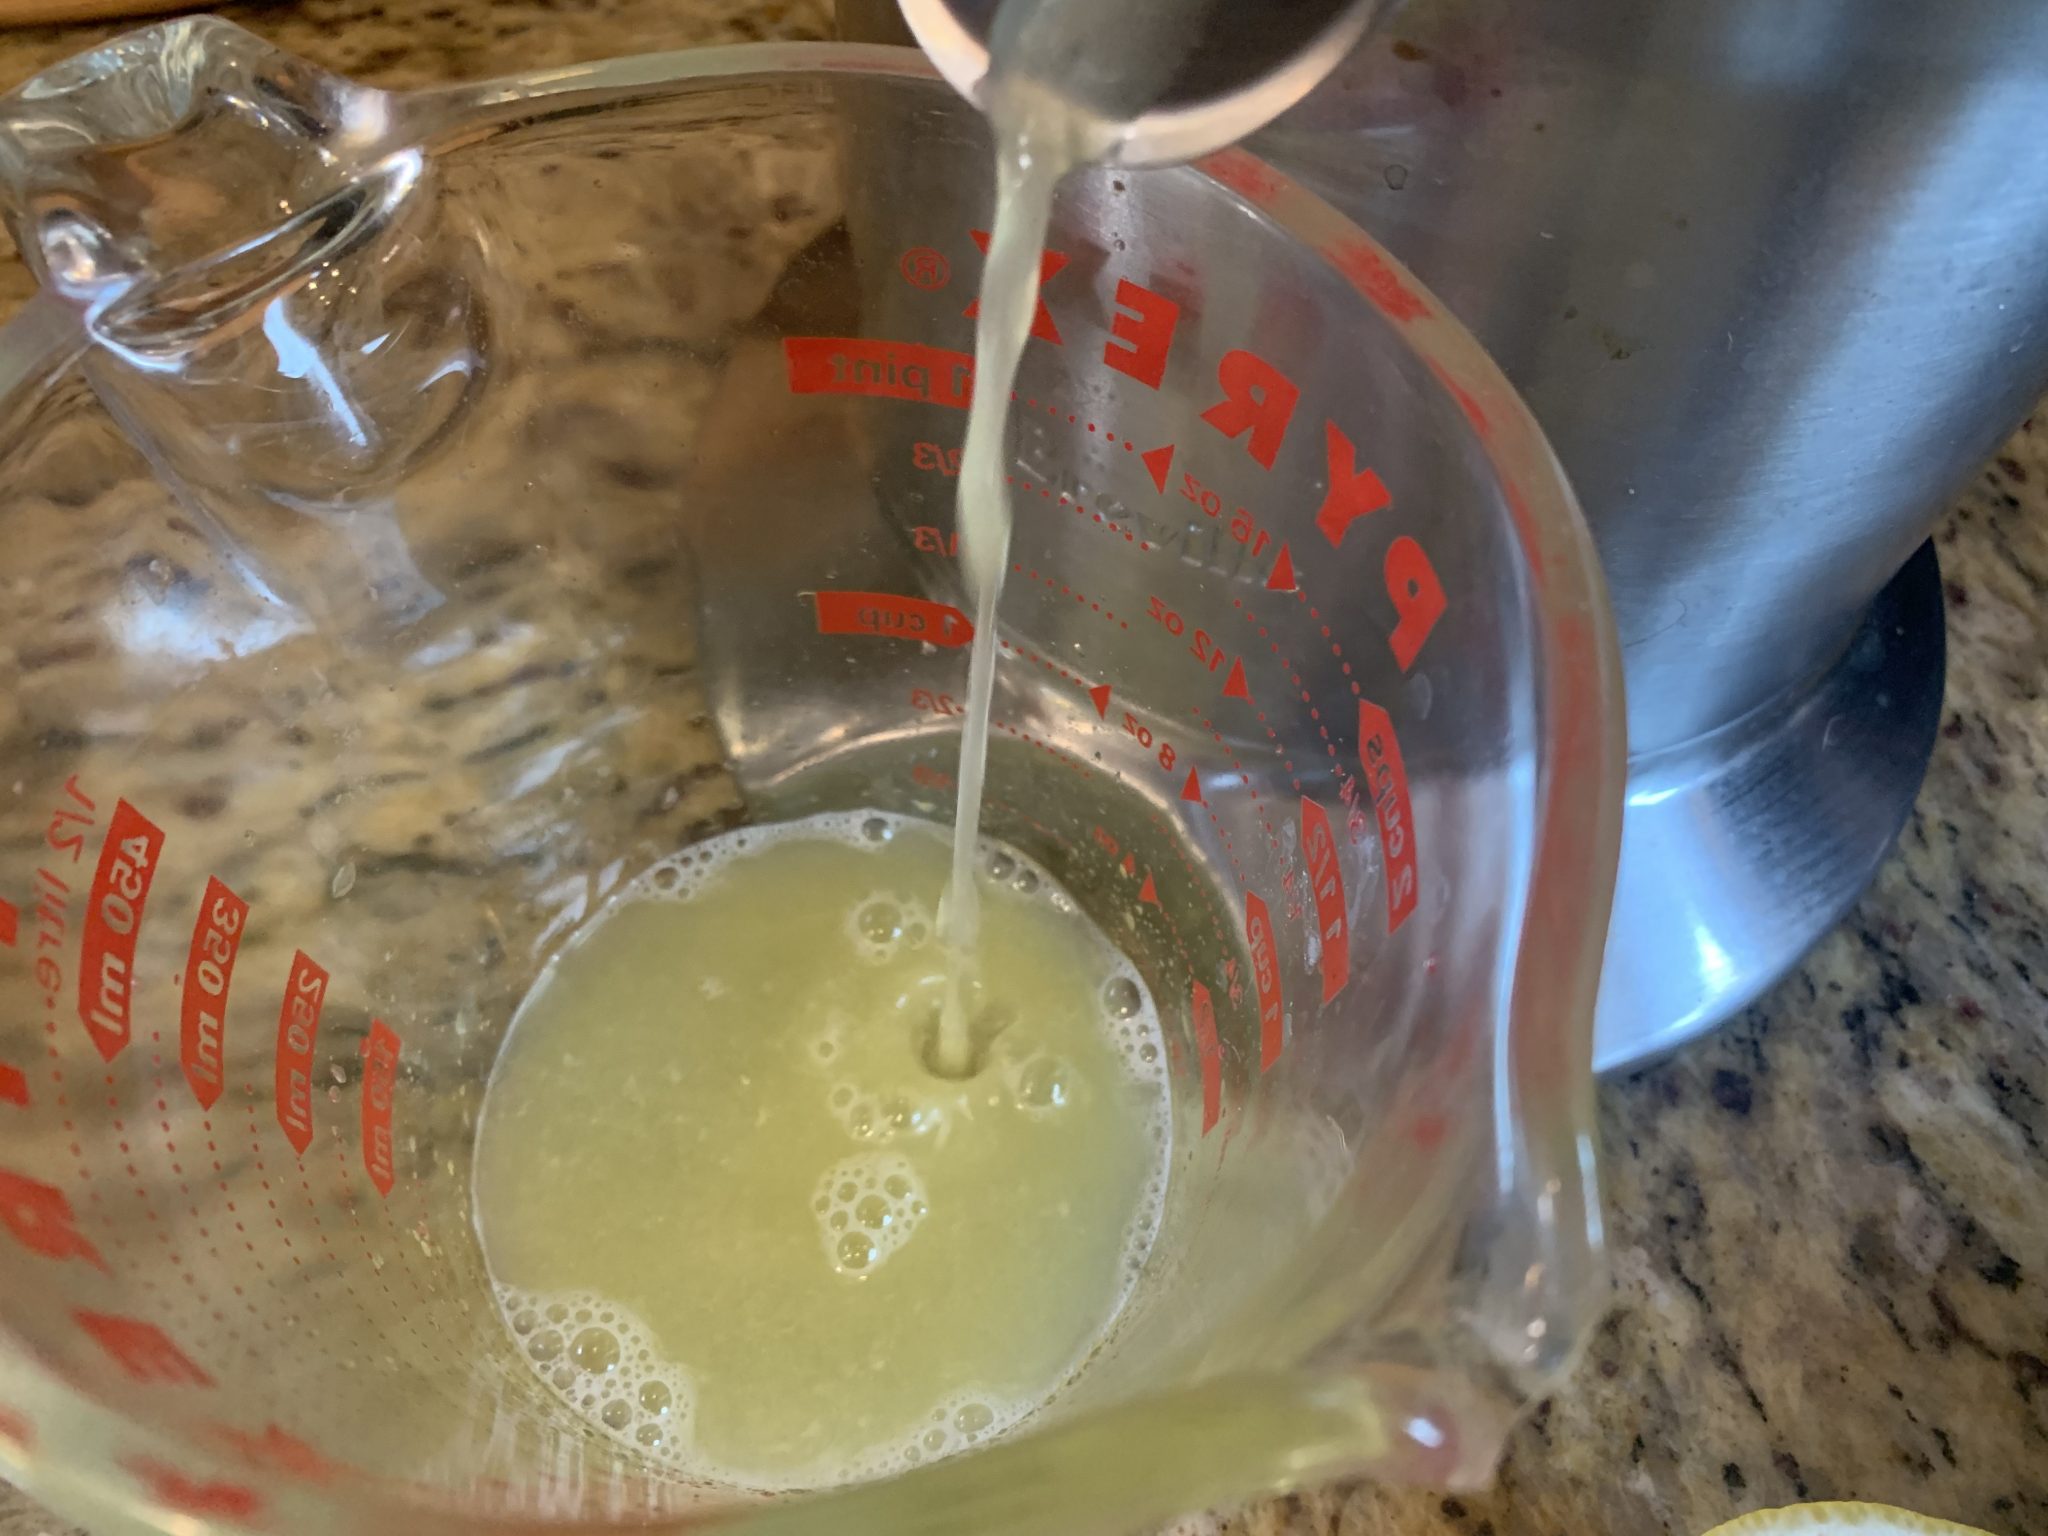
- Slice in half and juice 6 lemons. Set juice aside.Note: you need to have enough juice to cover the slices in the jar. Depending on the size of your lemons you may need more or less than six.
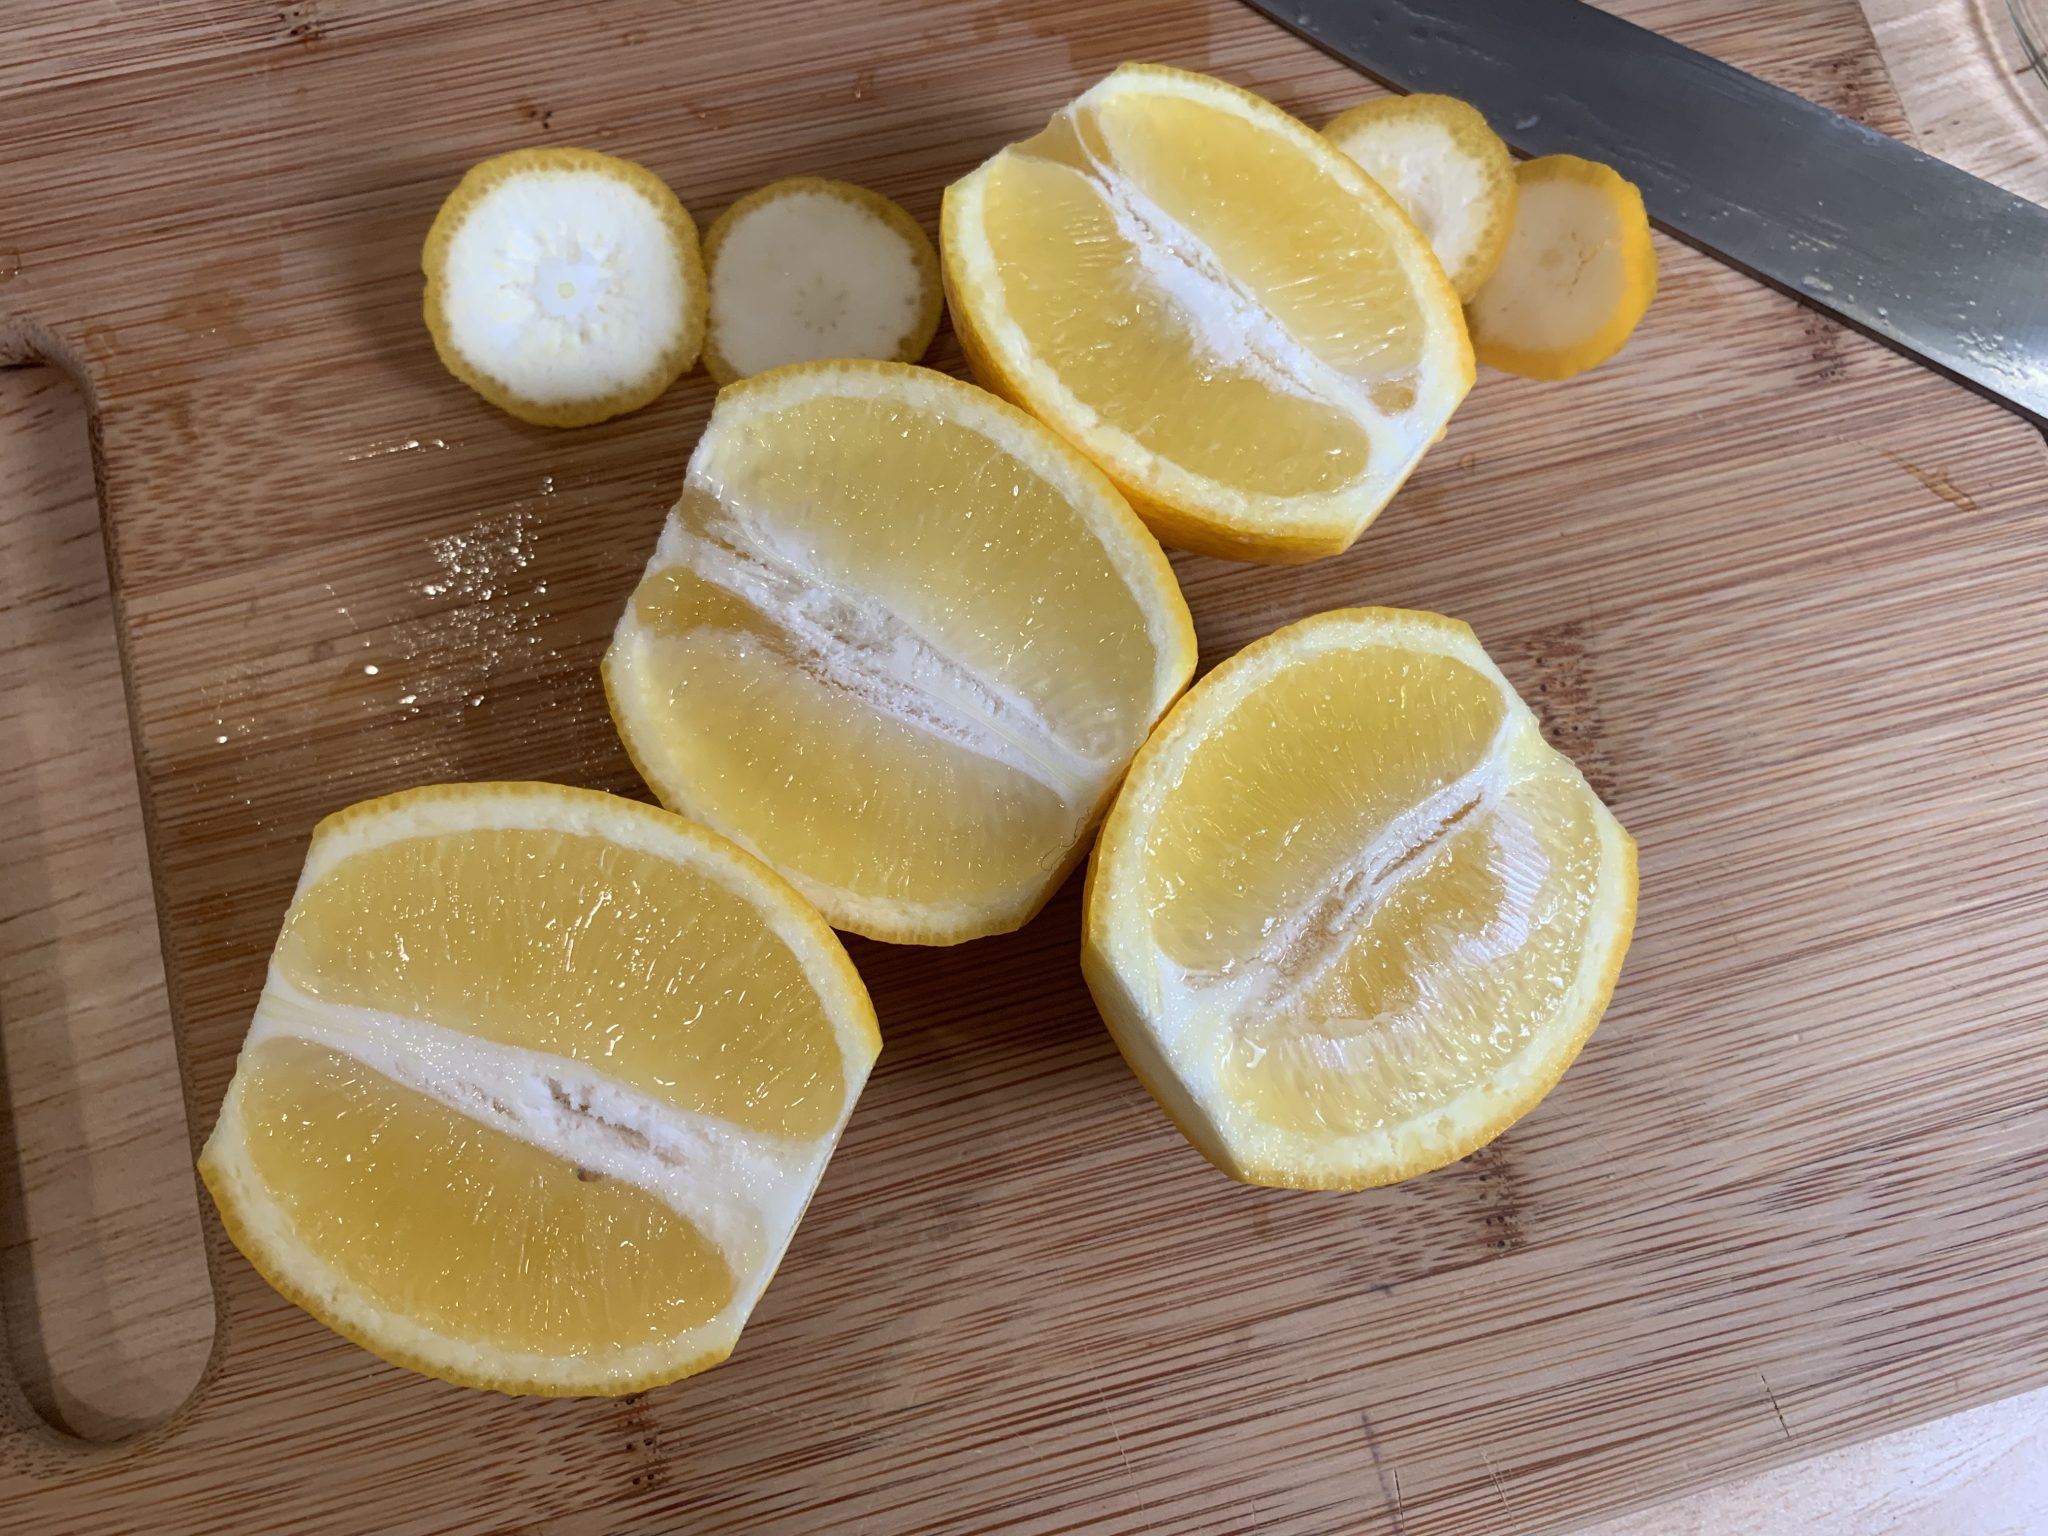
- Cut the top and tail off the lemons, and slice them in half lengthwise. You want to cut the pith off of the ends so you can see the segments.
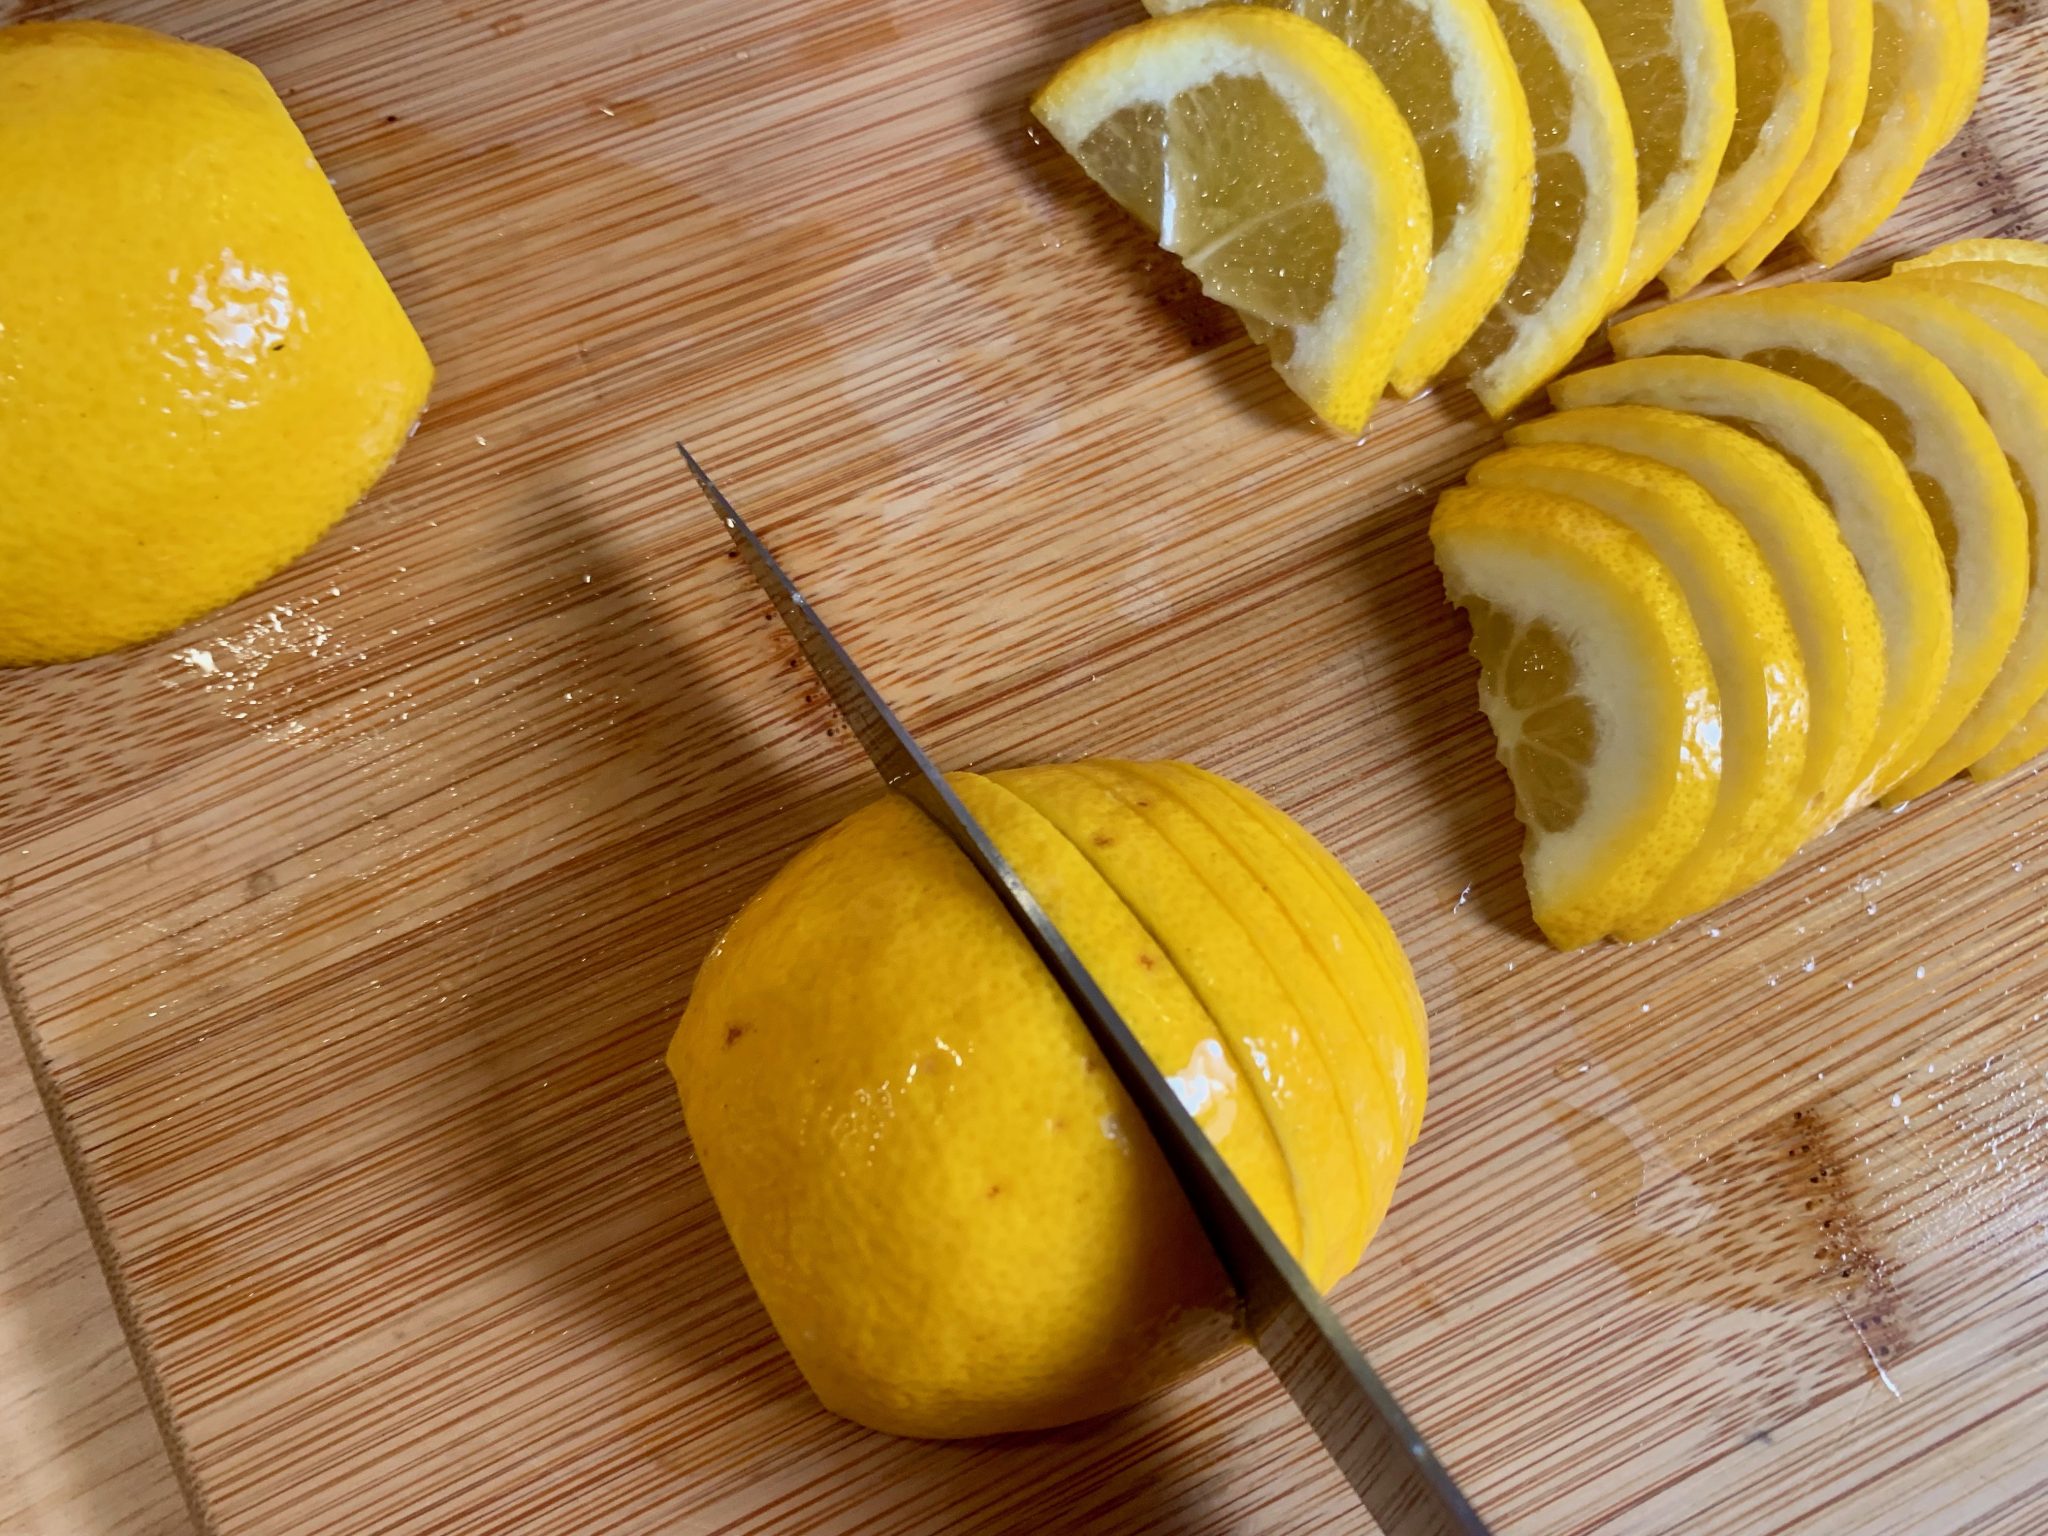
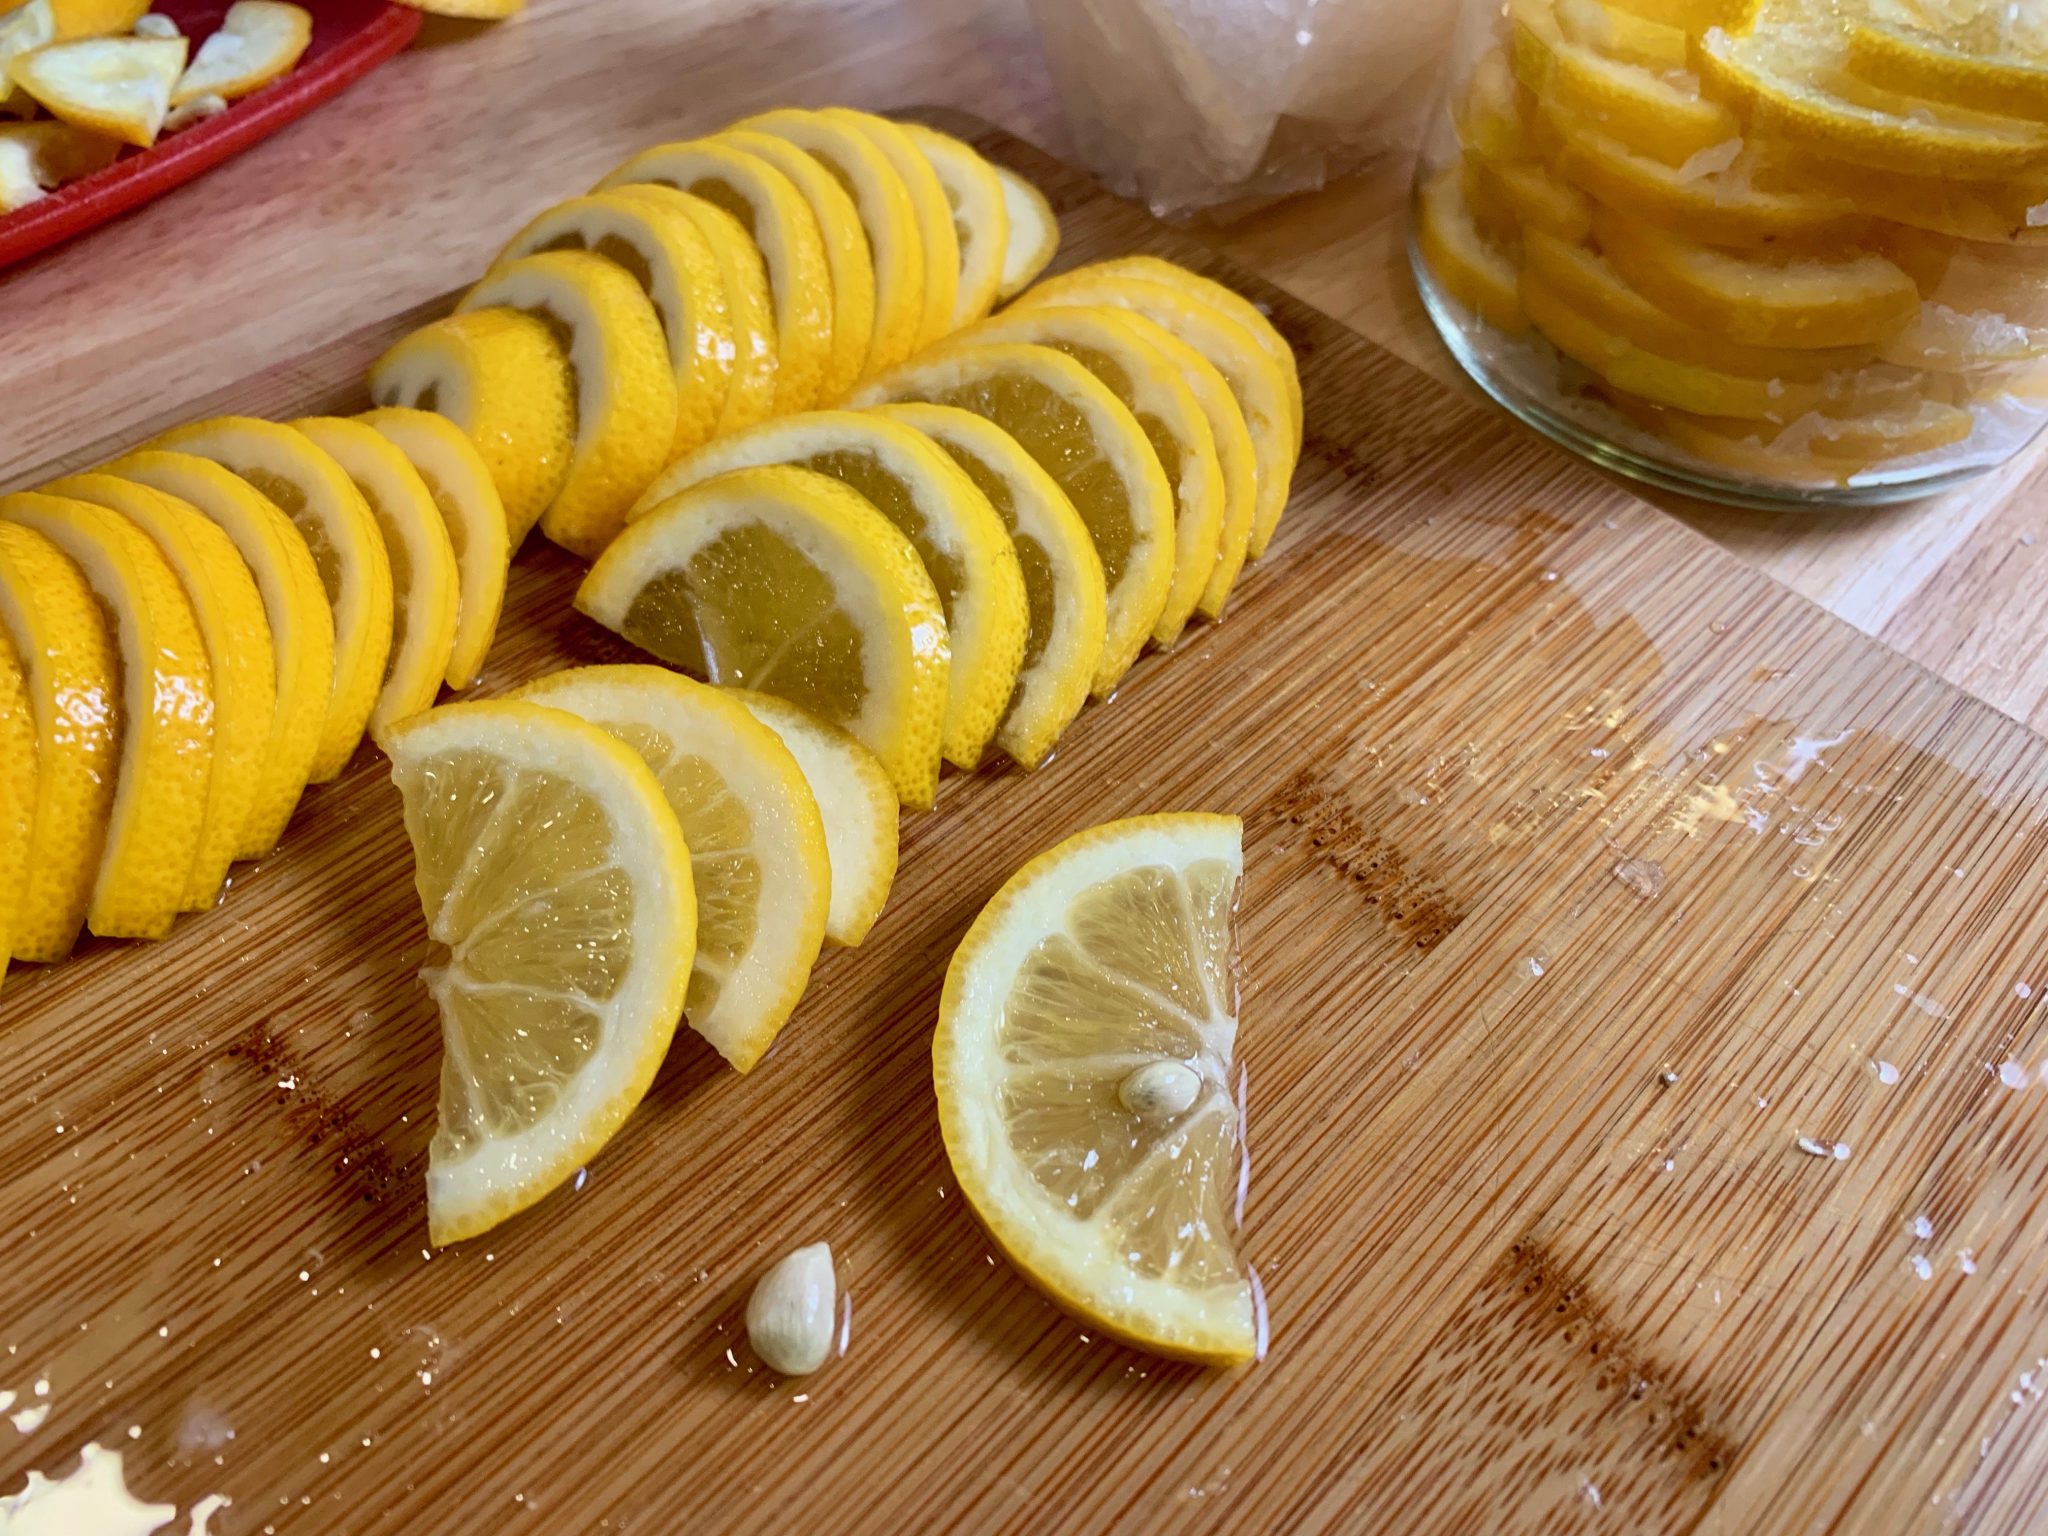
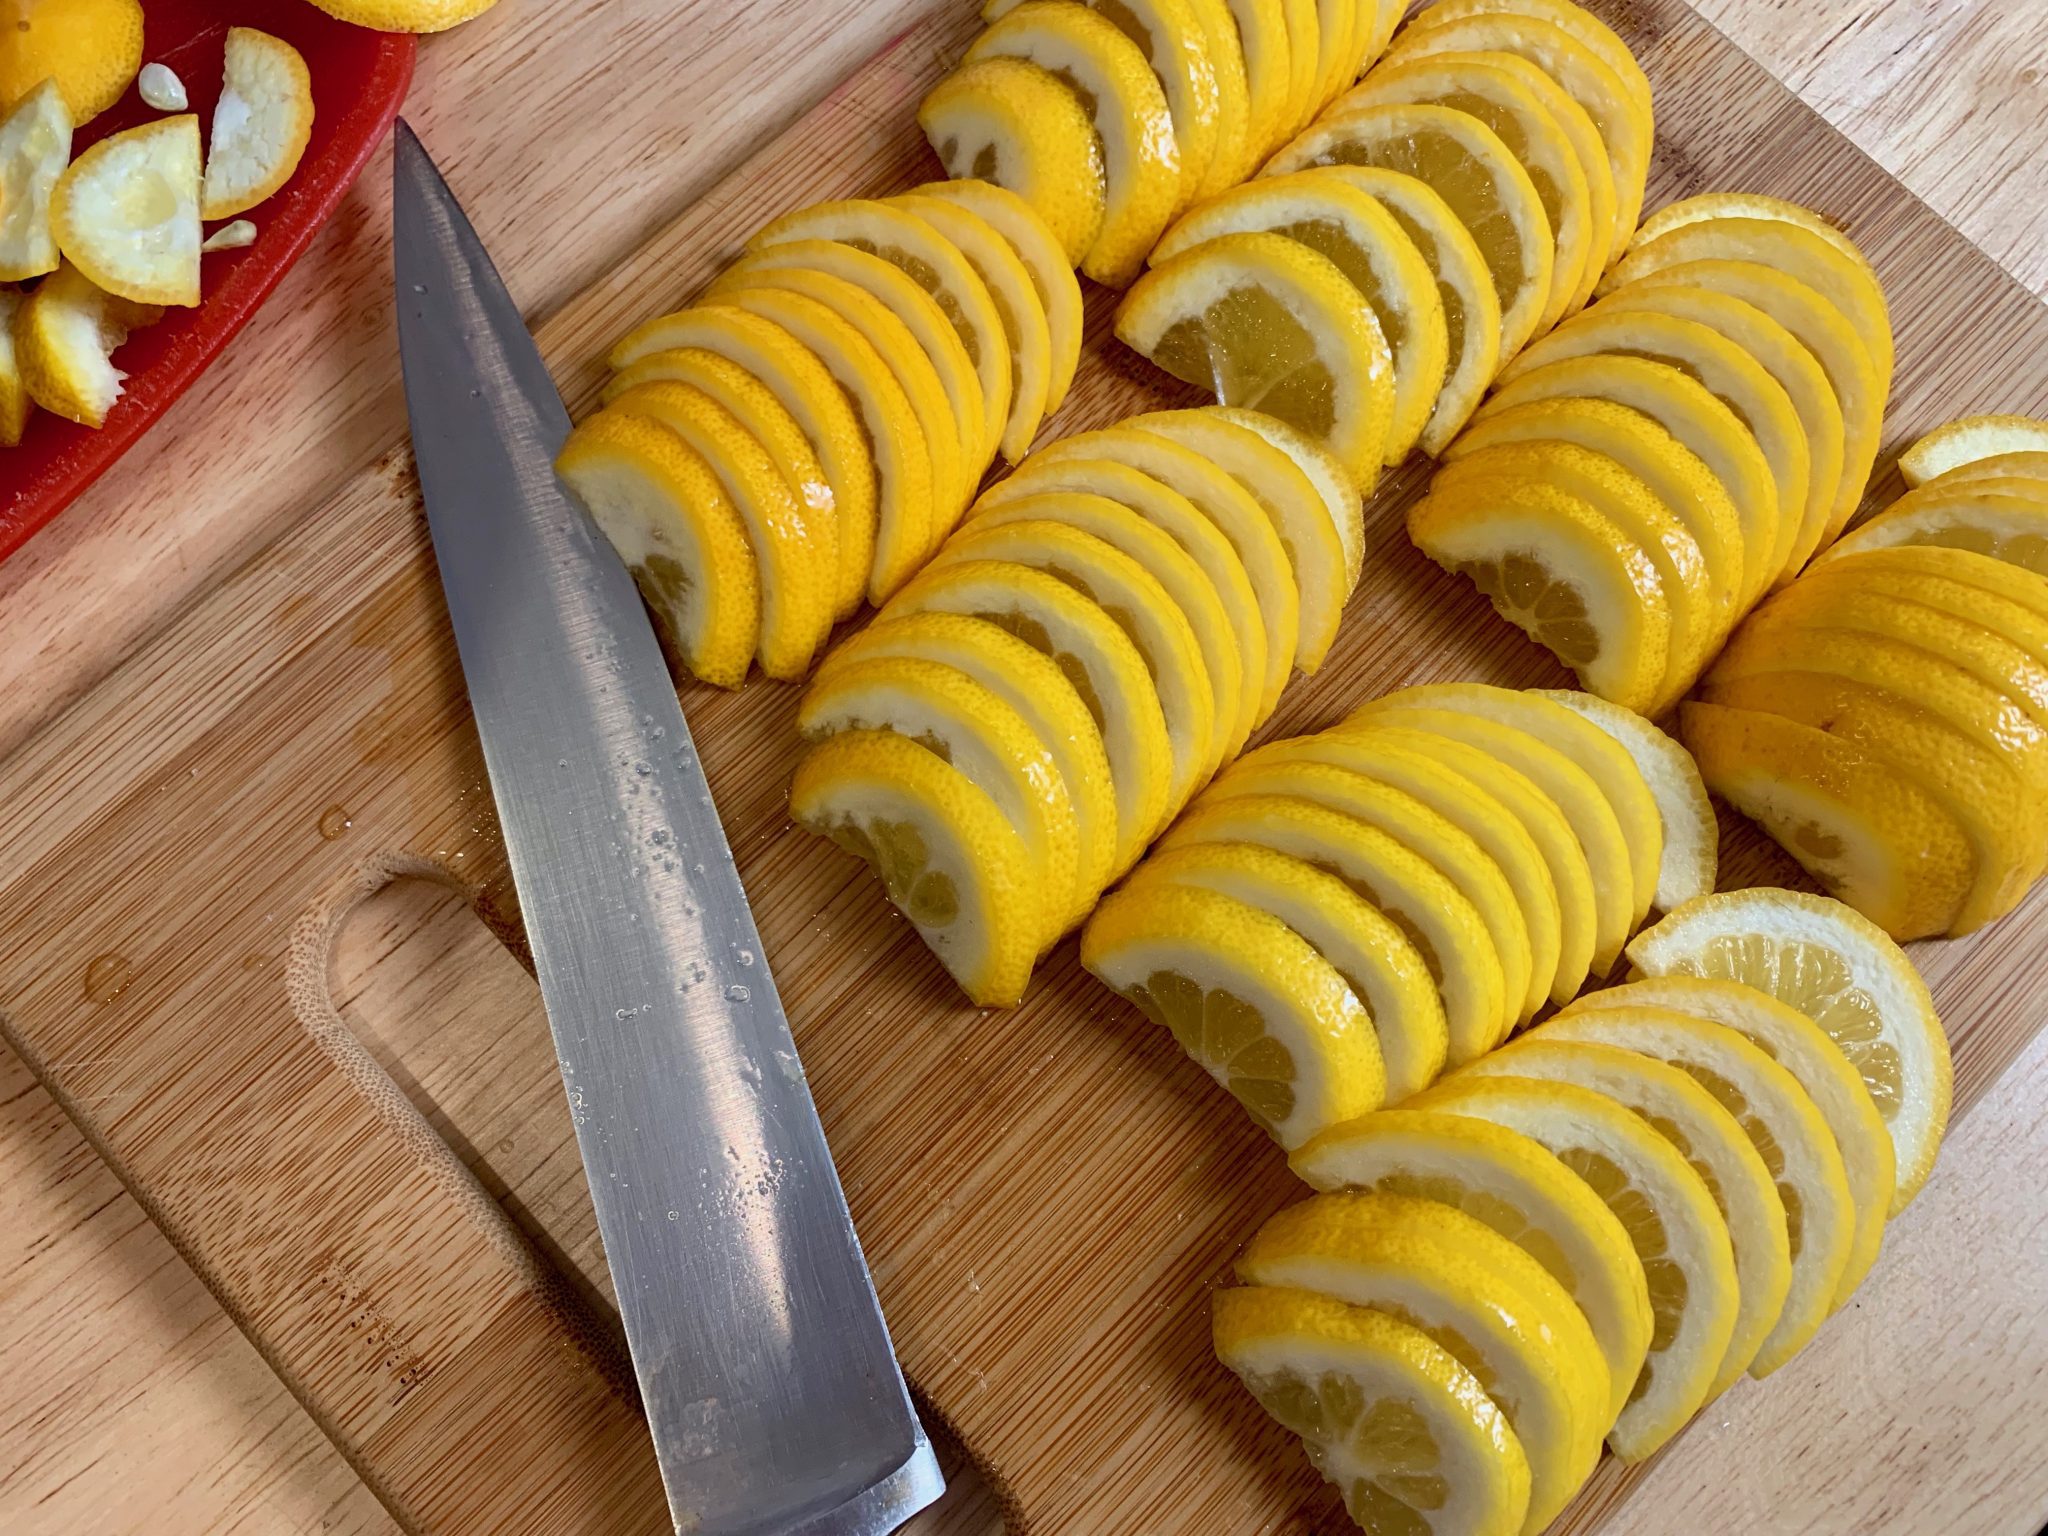
- Cut the lemons into thin slices. I do them about 1/8″ wide.
- Try to get the lemon slices cut to consistent thickness. Removing any pits that you find.
- When you have all the lemons sliced, you are ready to start layering them in the jar.
- In the bottom of your jar, sprinkle a layer of sea salt flakes.
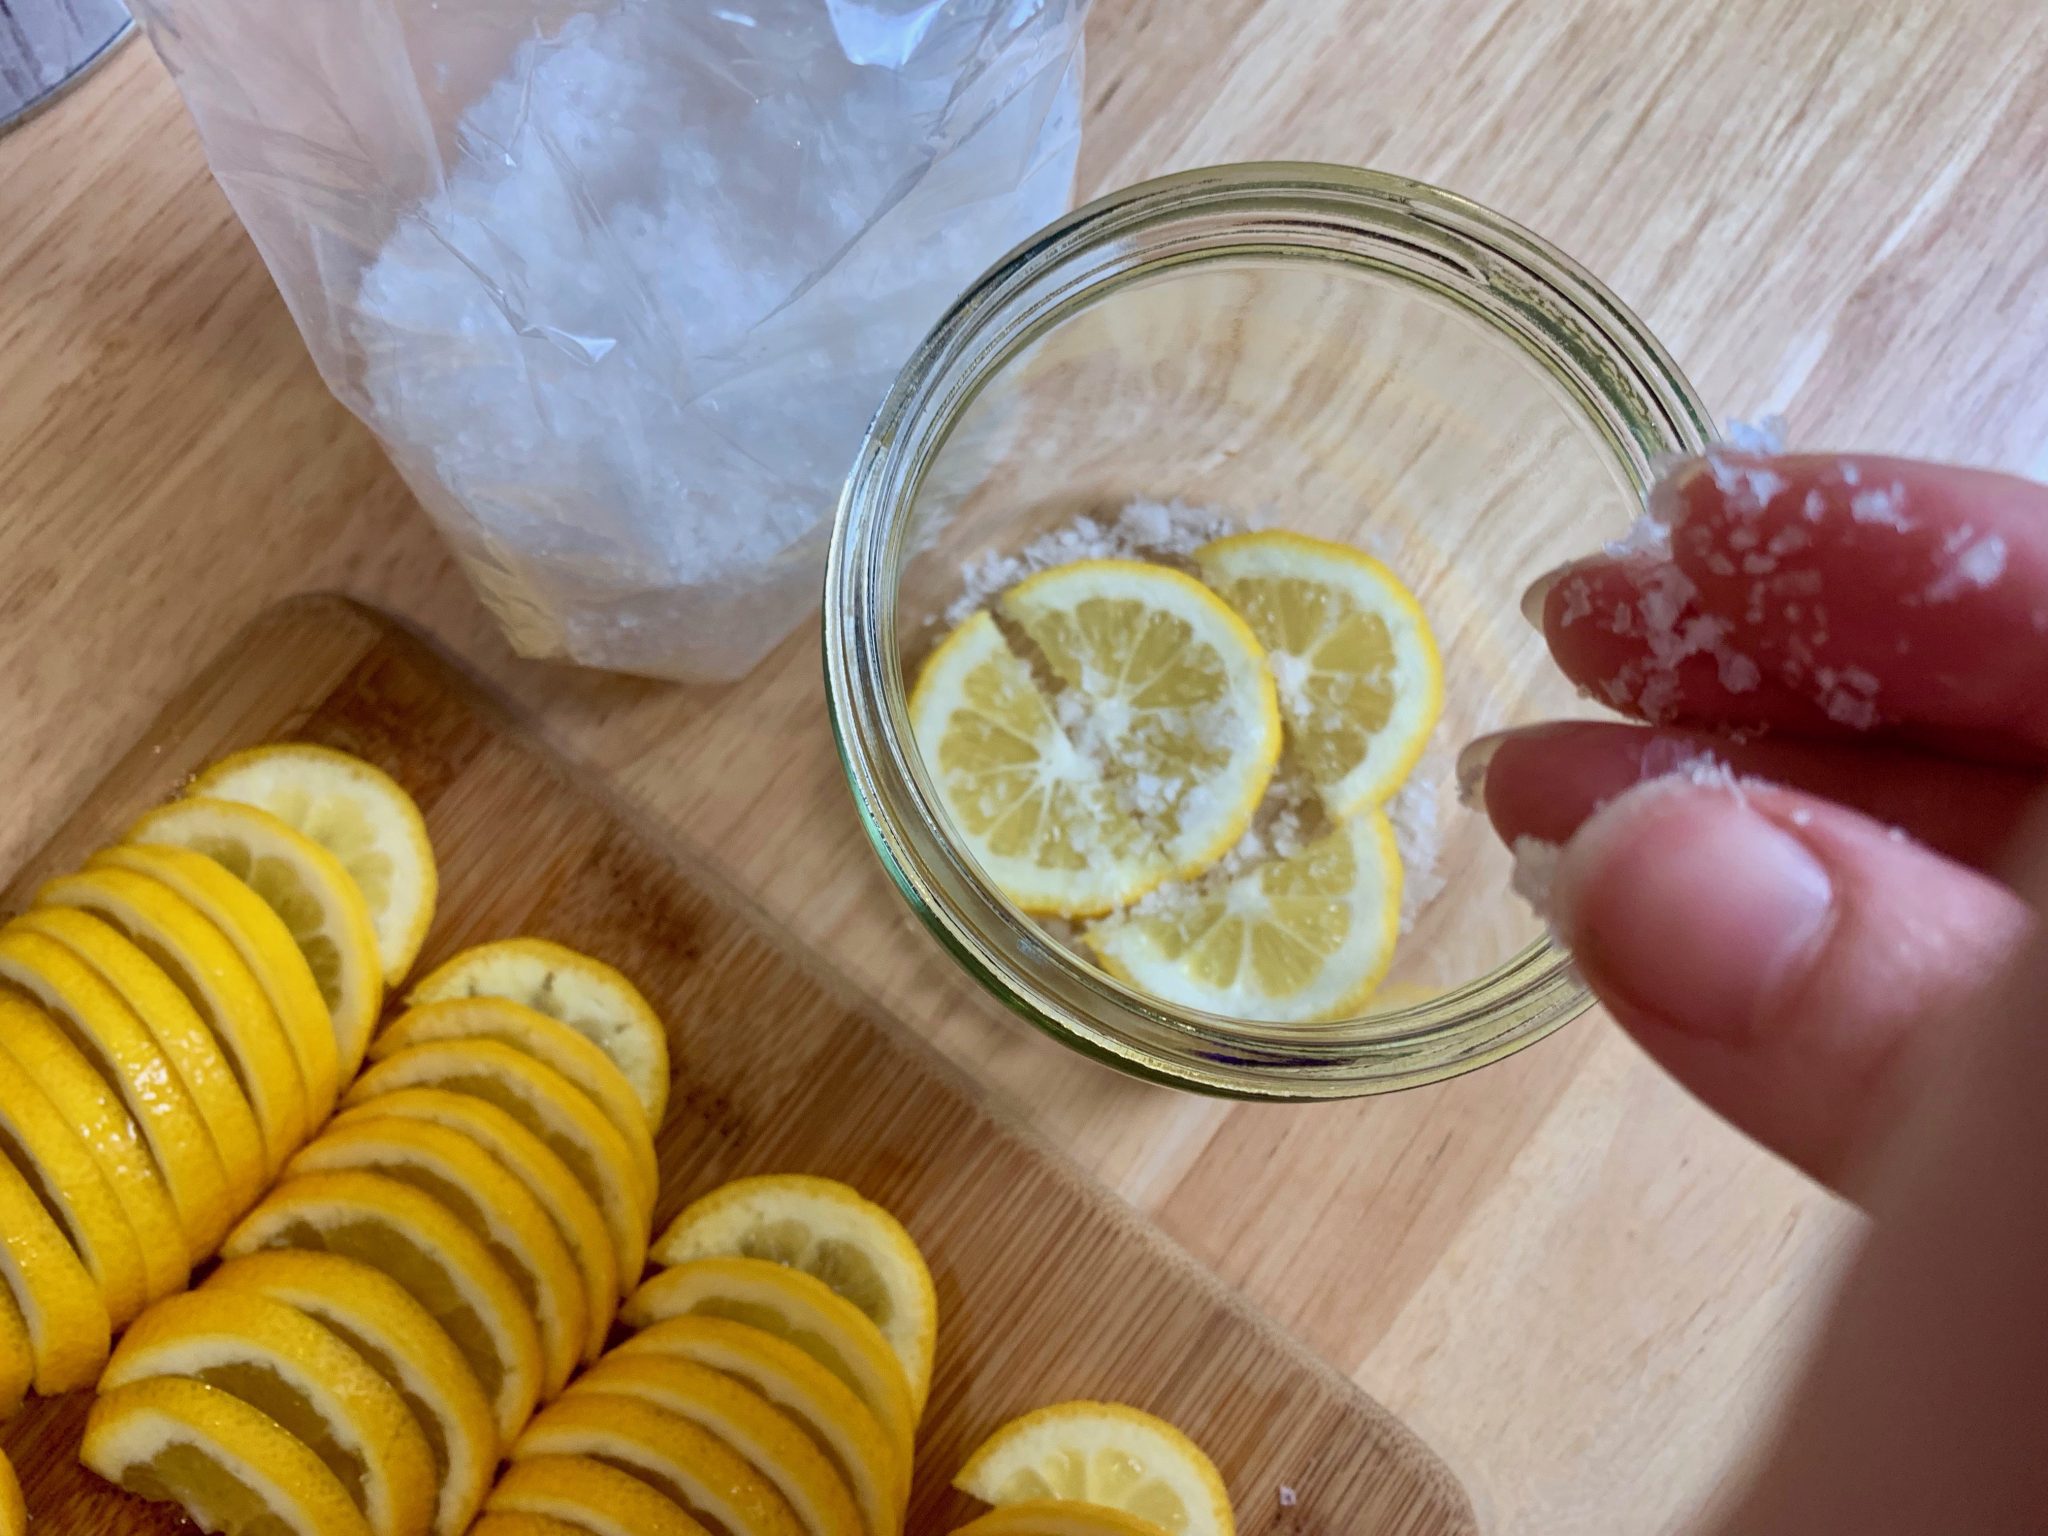
- Layer some lemon slices on top of the salt, fitting as many slices in as you can without overlapping or crowding. Sprinkle some more salt over the lemon.
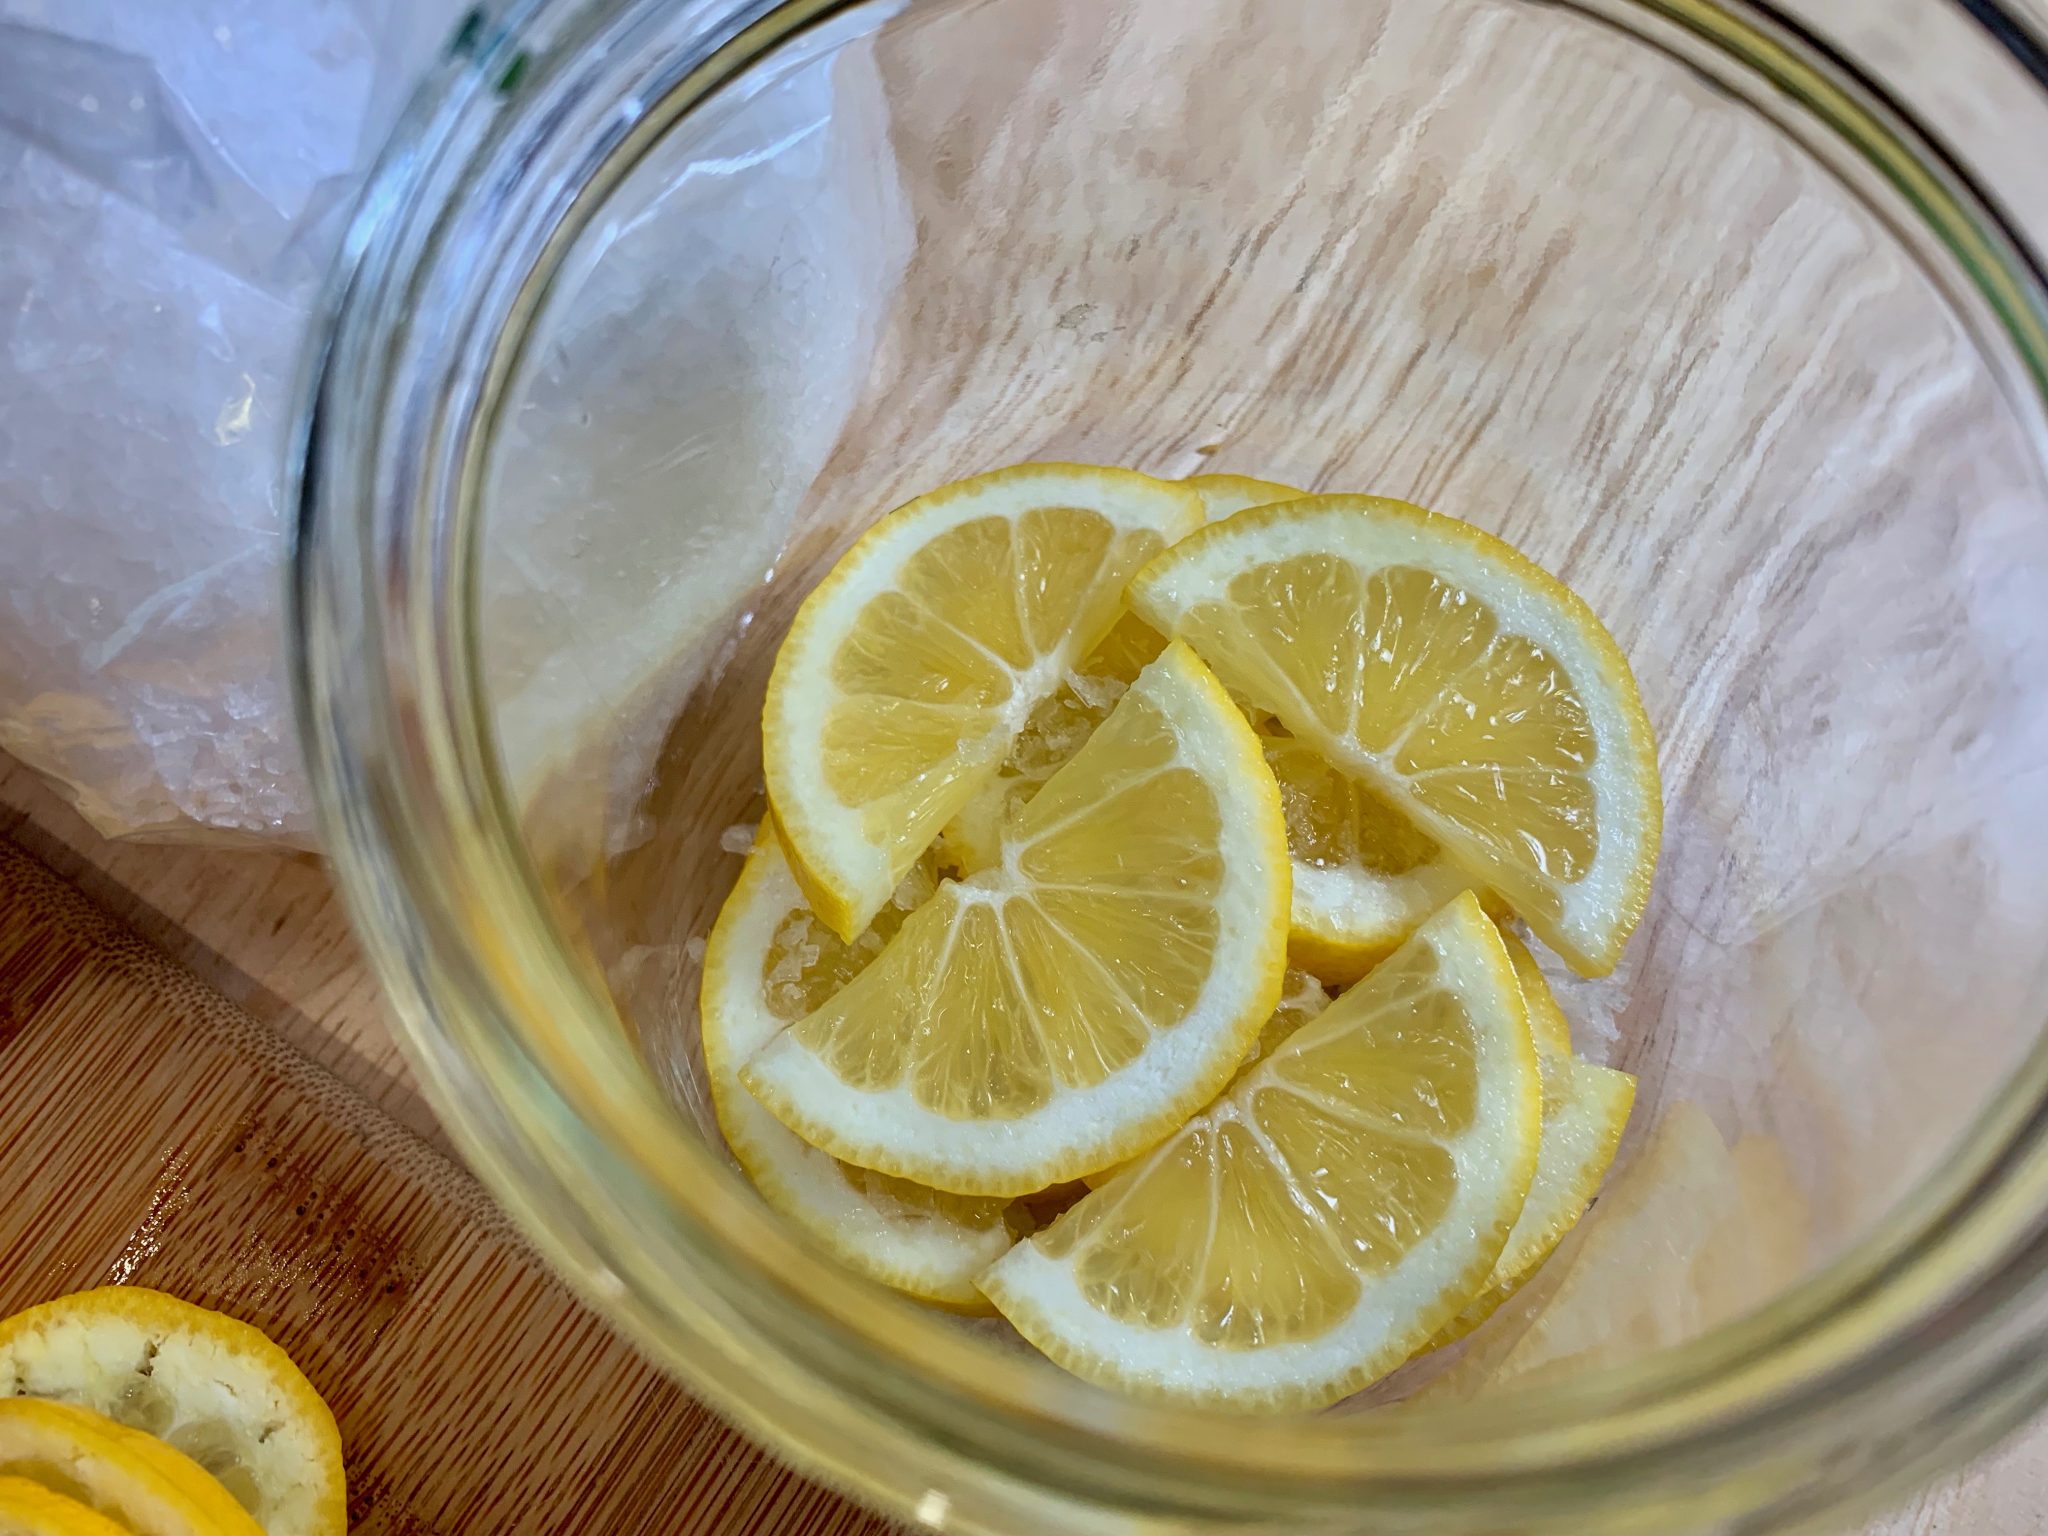
- You will continue alternating lemon slices and salt layers to fill the jar. When you lay lemon slices on top of each other try to change the position so they aren’t stacked directly on top of each other. Use smaller slices to fill in small spaces.Note: Use the ‘one hand wet, one hand dry’ method, with the same hand always doing salt and the other only doing lemons. That keeps you from getting moisture in the salt, and is faster than wiping your hands between each layer.
- I position the rinds up against the glass as I go. Not only does it look nice from the outside (bonus!) but it also make it easier to grab slices when you want to use them in the future.
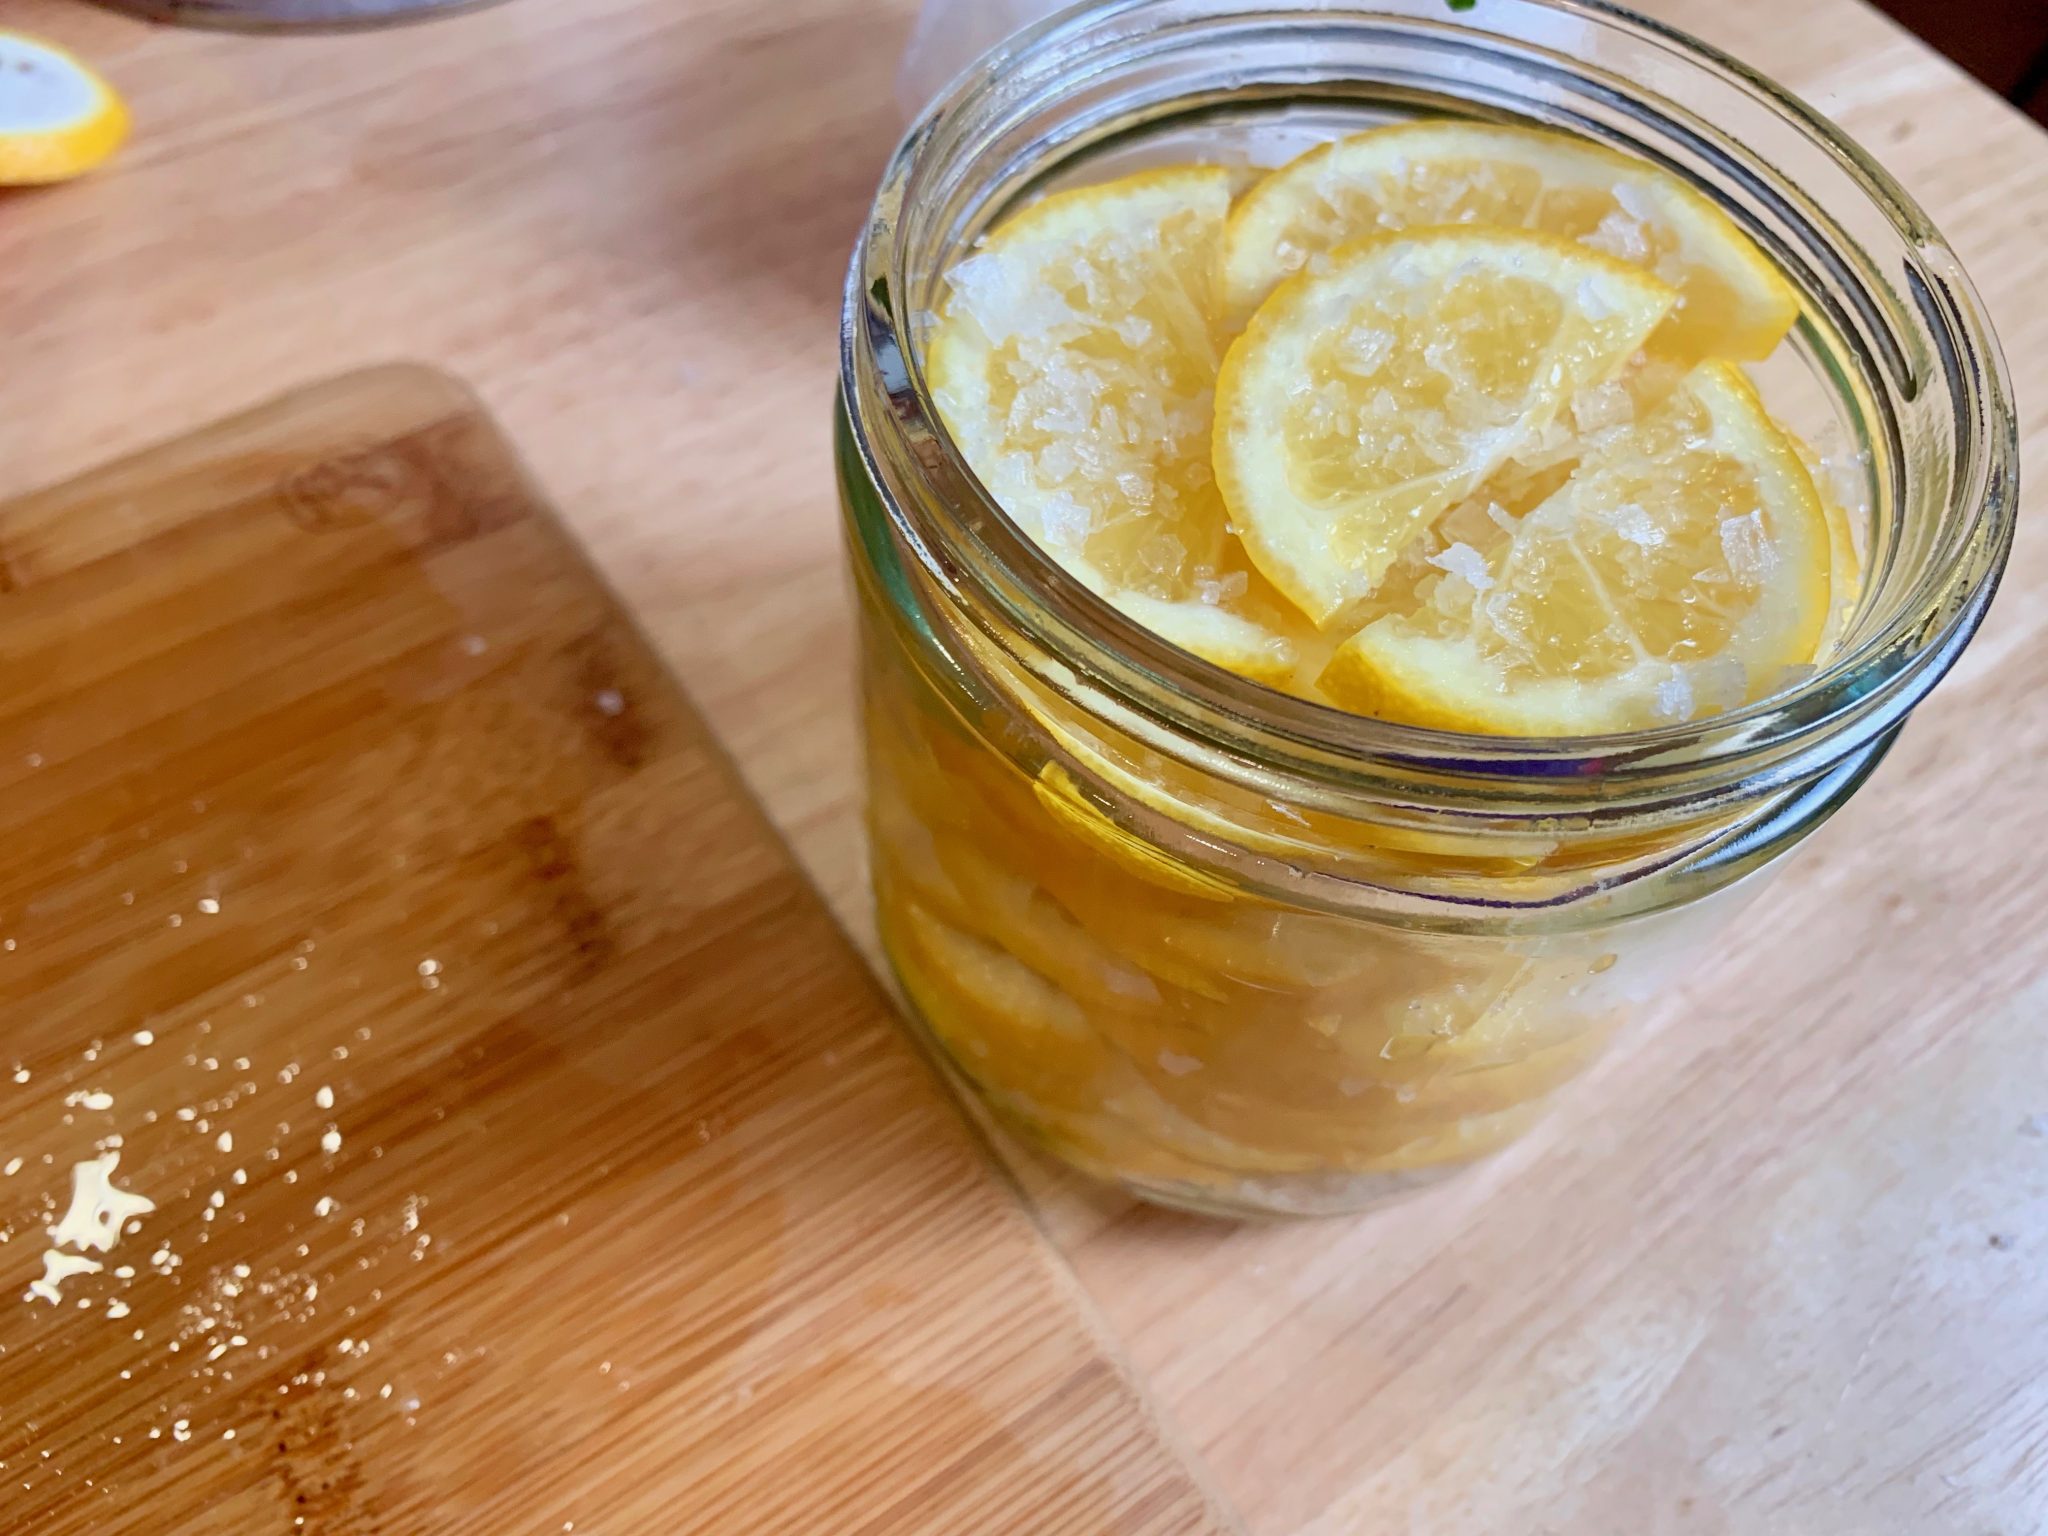
Fill the jar almost to the top, leaving enough room for some juice to cover the slices. - Pour the lemon juice into the jar.
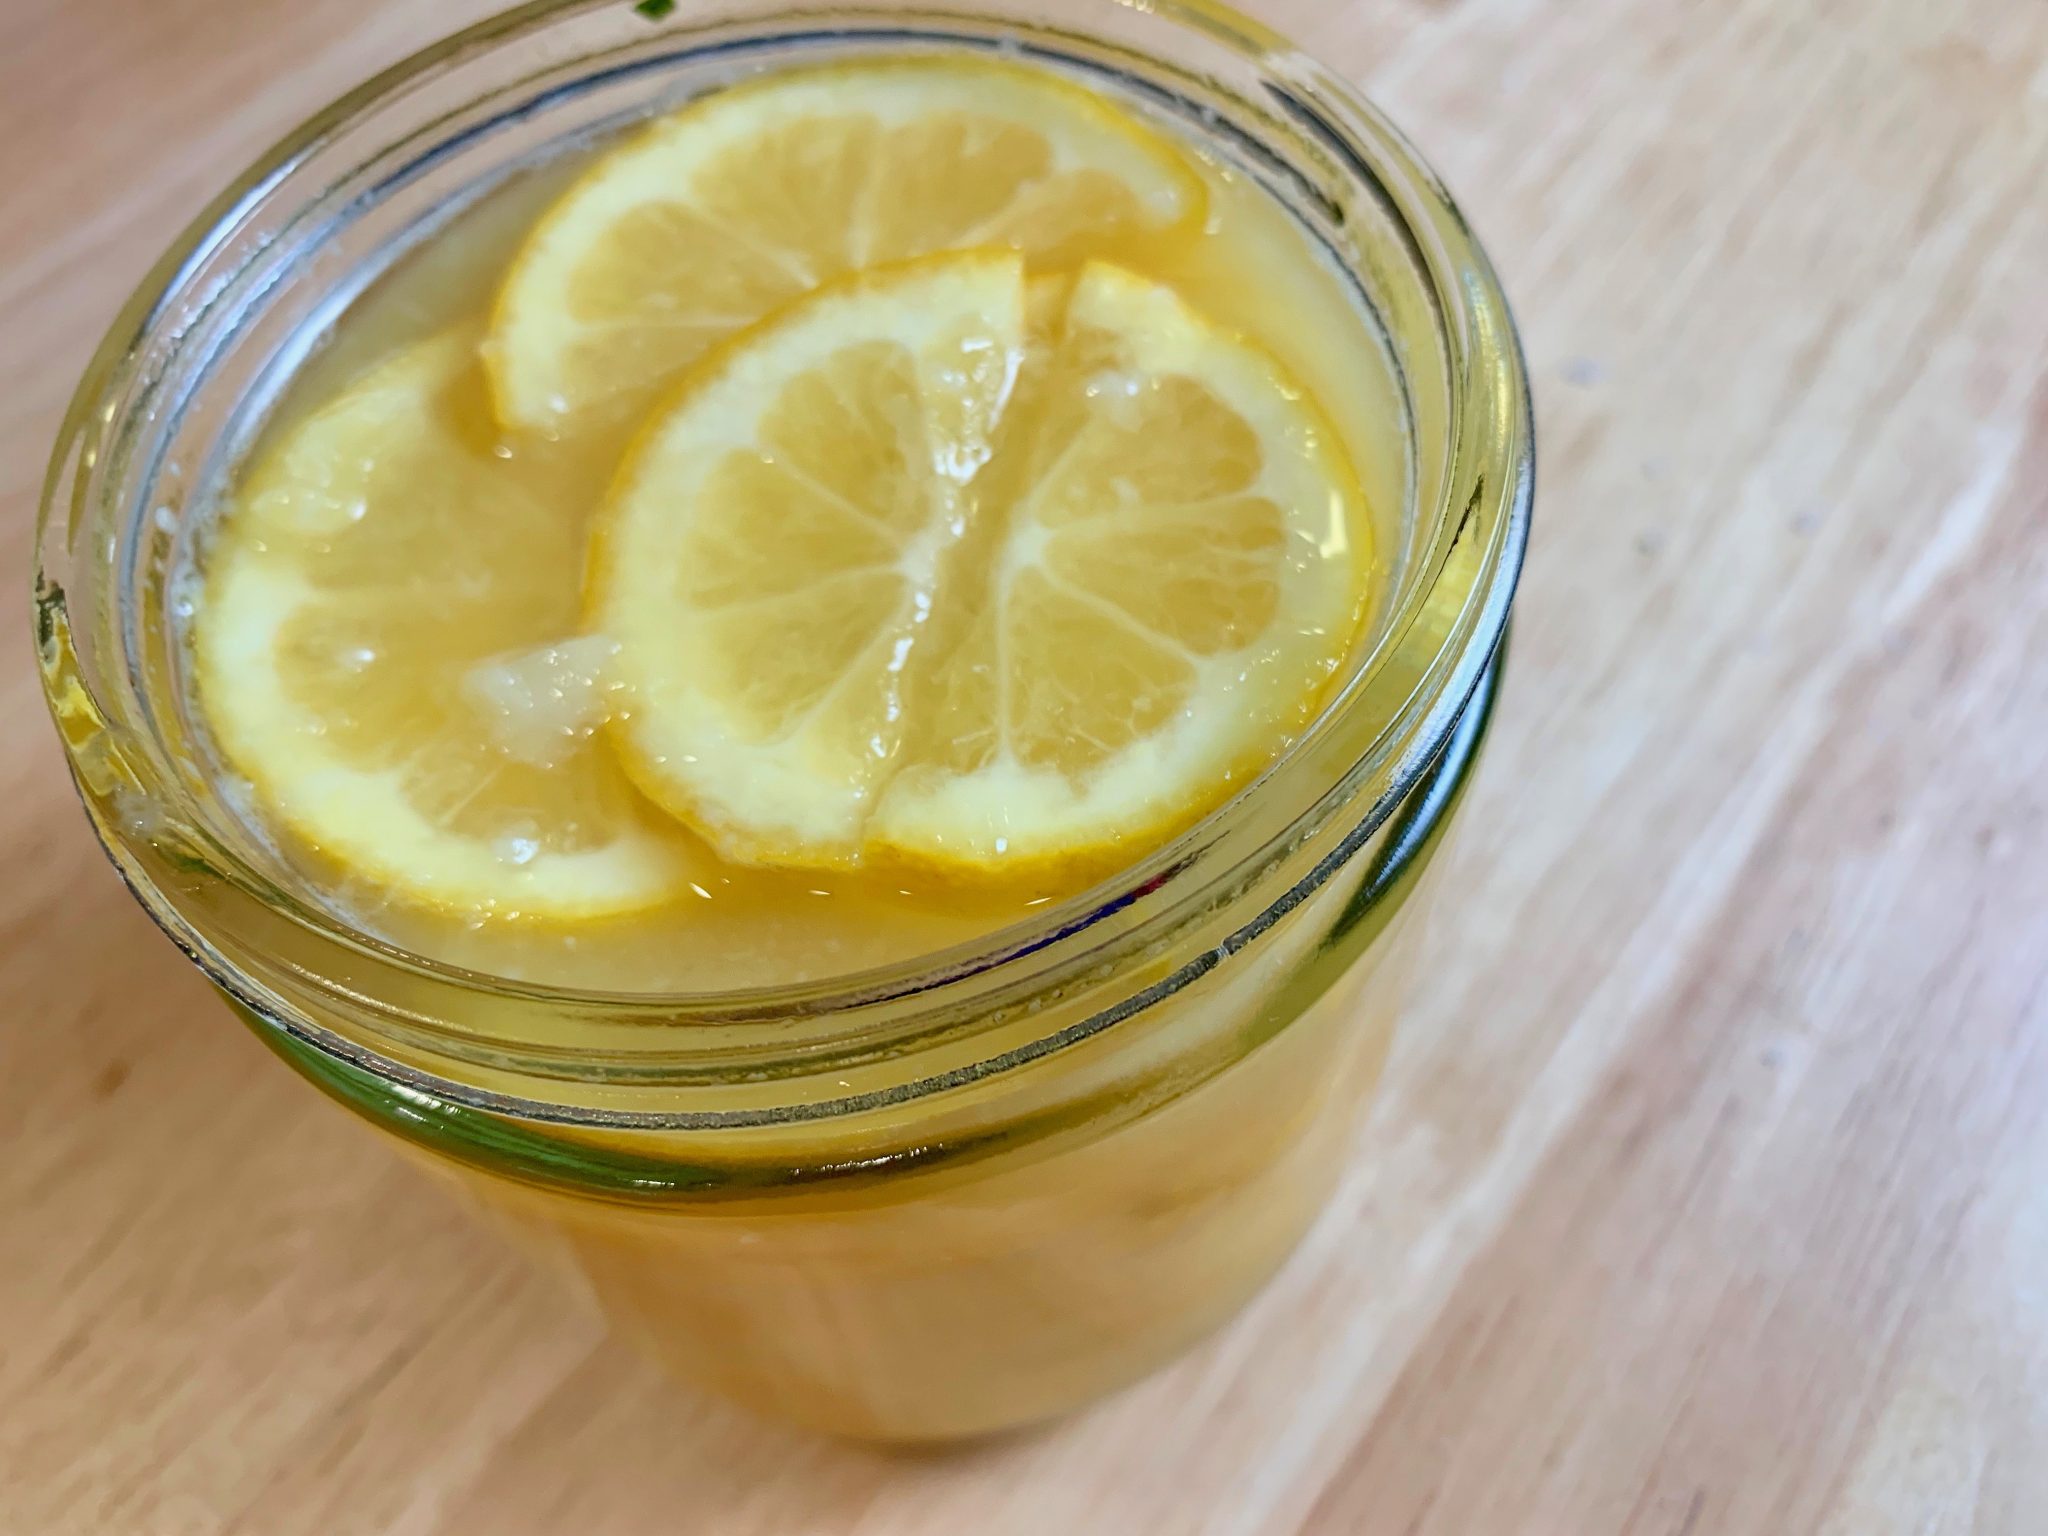
- Make sure the juice covers the top level of slices.
- Cover the jar tightly and store in the refrigerator. Lemons will keep for an extended time.


One response to “Versatile Salt-Preserved Meyer Lemon Slices”
[…] additional element I like to add as a topping when doing them this way is to lay in a slice of my Preserved Meyer Lemons. The tang of the lemon cuts through the fat of the pork in such a great way. For my lettuce cups, […]